Hi fans!
As some of you might know I am not only a faithful zealot member but also a member of a fantastic German modeling forum called "Phoxim". It is THE place to everything SciFi and Fantasy in Germany. The members produce and showcase mind-blowing models which often rival (and surpass) the wildest creations by famous Hollywood artists.
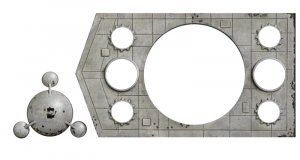
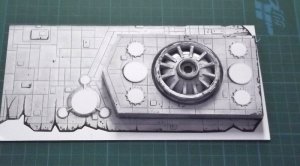
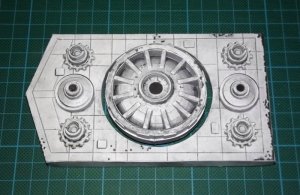
One of the best artists is Klaus Schaeftner. Recently he built one of the new Moebius TOS Cylon Raiders and came up with a great idea. Instead of using the (rather boring) base that came with the kit he built a custom base resembling the name plate of the Battlestar Atlantia - shortly after her destruction.
When I saw what he was doing I immediately contacted him and asked him for the dimensions and a straight-on view of the finished base so that I could turn it into a wall plaque made of paper and card. Klaus liked the idea and supplied me with the necessary information - and a highly professional picture. Many thanks for that!
This is the link to Klaus' original thread:
http://www.phoxim.de/forum/index.php?topic=10602.0
And here comes my re-creation of card and paper; I hope you like it, too.
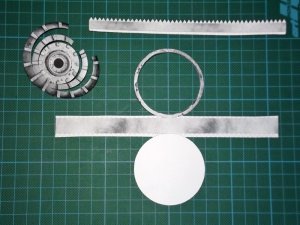
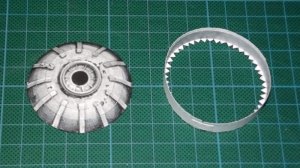
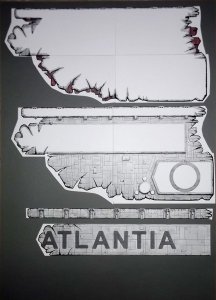
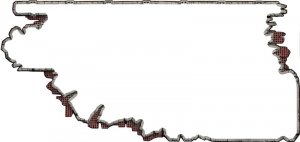
First of all I corrected some minor distortion in the image using a program called "ShiftN". Then the picture was loaded into Gimp. I made extensive use of layer masks to define the different layers which later will be cut out, laminated to corrugated card and stacked on top of each other.
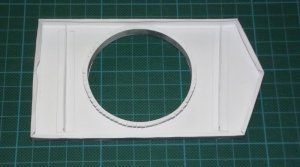
This is the first layer:
the second:
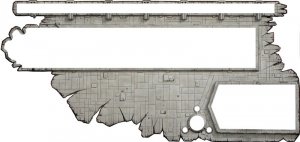
the name plate
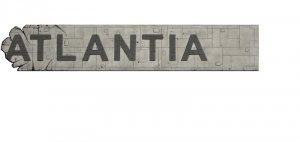
the letters, already layed-out on letter-size paper ( )
)
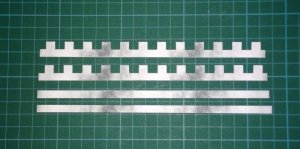
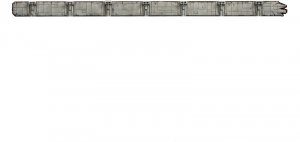
the top strip
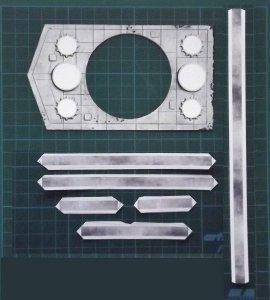
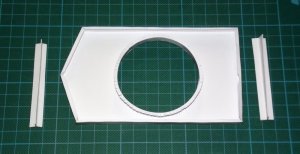
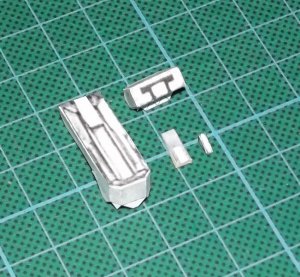
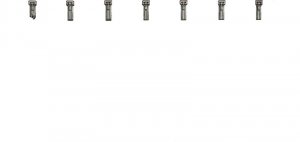
the clamps
and the plates

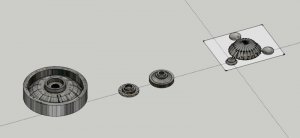
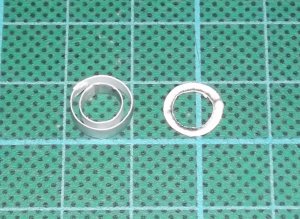
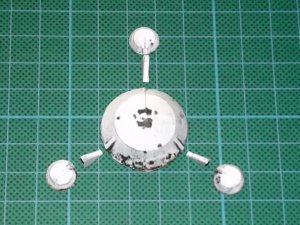
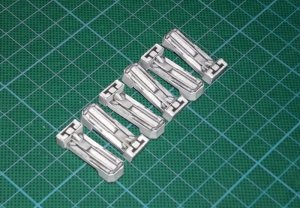
The clamps and the Moerser Karl parts will be re-created in SketchUp.
For the record: There is nothing wrong with your screen; the images have a white background and I haven't cropped them.
Stay tuned and have fun and enjoy!
As some of you might know I am not only a faithful zealot member but also a member of a fantastic German modeling forum called "Phoxim". It is THE place to everything SciFi and Fantasy in Germany. The members produce and showcase mind-blowing models which often rival (and surpass) the wildest creations by famous Hollywood artists.
One of the best artists is Klaus Schaeftner. Recently he built one of the new Moebius TOS Cylon Raiders and came up with a great idea. Instead of using the (rather boring) base that came with the kit he built a custom base resembling the name plate of the Battlestar Atlantia - shortly after her destruction.
When I saw what he was doing I immediately contacted him and asked him for the dimensions and a straight-on view of the finished base so that I could turn it into a wall plaque made of paper and card. Klaus liked the idea and supplied me with the necessary information - and a highly professional picture. Many thanks for that!
This is the link to Klaus' original thread:
http://www.phoxim.de/forum/index.php?topic=10602.0
And here comes my re-creation of card and paper; I hope you like it, too.
First of all I corrected some minor distortion in the image using a program called "ShiftN". Then the picture was loaded into Gimp. I made extensive use of layer masks to define the different layers which later will be cut out, laminated to corrugated card and stacked on top of each other.
This is the first layer:

the second:

the name plate

the letters, already layed-out on letter-size paper (

the top strip

the clamps

and the plates

The clamps and the Moerser Karl parts will be re-created in SketchUp.
For the record: There is nothing wrong with your screen; the images have a white background and I haven't cropped them.
Stay tuned and have fun and enjoy!
Last edited:


