

N
niebla de fuego
Hello!
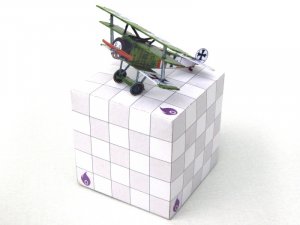
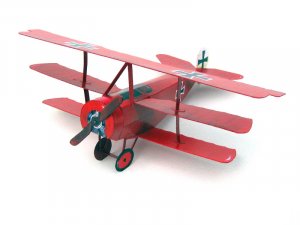
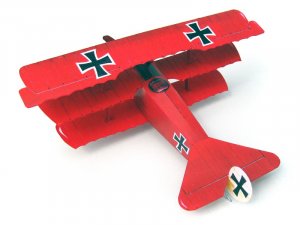
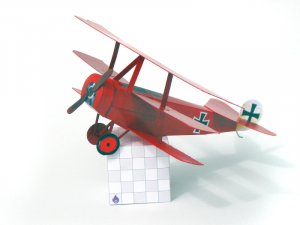
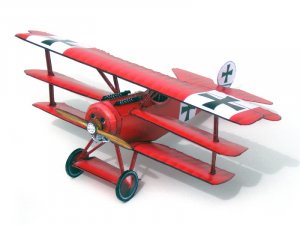
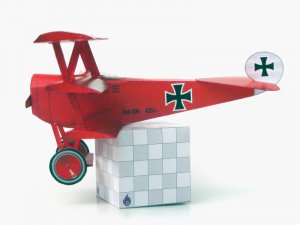
As some of you know, the Dreidecker is one of my favorite aircraft. In this thread I present the construction of several Dr.1s. Namely: all the free downloads I could find in the web of the Dr.1.
Yes, all the Fokker Dr.1s in the following photos can be found for free. They will be shown one by one.
All kits were printed with a laser printer on 0.20mm white cardstock. All the edges were painted with red/black Sharpie markers, except when other colors were needed (in which case were painted with Prismacolor pencils).
All the kits were printed at the original size they come in except where specified.
All the kits were built following the instructions/diagrams/photos provided by the designers where available. We could say they are “out of the box”, with very little or no modifications at all from me besides the edge coloring.
The kits presented here are the following:
- Fokker Dr.1 designed by Marco Lallo (Recortecole)
- Fokker Dr.1 designed by Winky & ShaunGamer
- Fokker Dr.1 designed by Maquettes de Papier
- Fokker Dr.1 designed by Daniel Peters
- Fokker Dr.1 flying paper model, designed by Corneles A. Huisman v.1
- Fokker Dr.1 flying paper model, designed by Corneles A. Huisman v.2
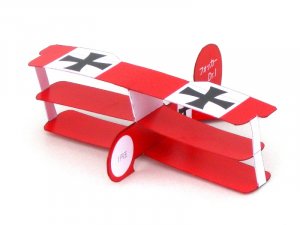
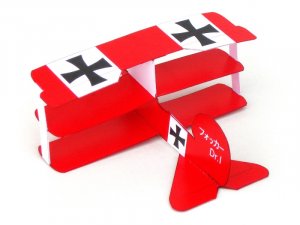
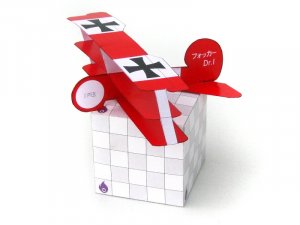
- Fokker Dr.1 flying paper model, designed by Eiichi Yoshida
- Fokker Dr.1 designed by Olli Bizer
- Fokker Dr.1 published by the German magazine “YPS” in 1978
- Fokker Dr.1 designed by F. Prudenziati
- Fokker Dr.1 very simple model designed by Rubén A. Martínez (me)


As some of you know, the Dreidecker is one of my favorite aircraft. In this thread I present the construction of several Dr.1s. Namely: all the free downloads I could find in the web of the Dr.1.
Yes, all the Fokker Dr.1s in the following photos can be found for free. They will be shown one by one.
All kits were printed with a laser printer on 0.20mm white cardstock. All the edges were painted with red/black Sharpie markers, except when other colors were needed (in which case were painted with Prismacolor pencils).
All the kits were printed at the original size they come in except where specified.
All the kits were built following the instructions/diagrams/photos provided by the designers where available. We could say they are “out of the box”, with very little or no modifications at all from me besides the edge coloring.
The kits presented here are the following:
- Fokker Dr.1 designed by Marco Lallo (Recortecole)
- Fokker Dr.1 designed by Winky & ShaunGamer
- Fokker Dr.1 designed by Maquettes de Papier
- Fokker Dr.1 designed by Daniel Peters
- Fokker Dr.1 flying paper model, designed by Corneles A. Huisman v.1
- Fokker Dr.1 flying paper model, designed by Corneles A. Huisman v.2
- Fokker Dr.1 flying paper model, designed by Eiichi Yoshida
- Fokker Dr.1 designed by Olli Bizer
- Fokker Dr.1 published by the German magazine “YPS” in 1978
- Fokker Dr.1 designed by F. Prudenziati
- Fokker Dr.1 very simple model designed by Rubén A. Martínez (me)


")