

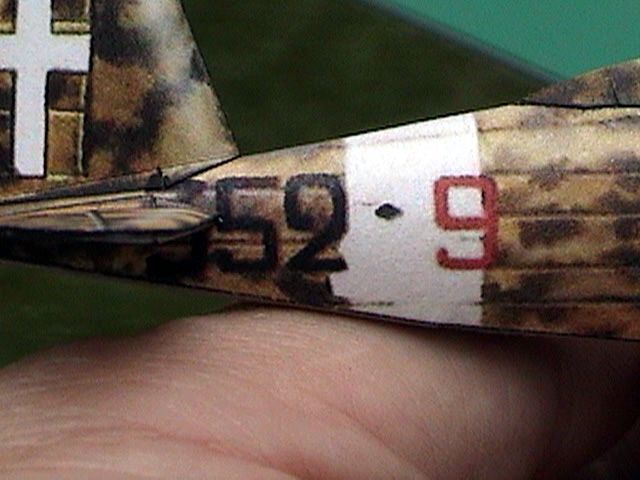
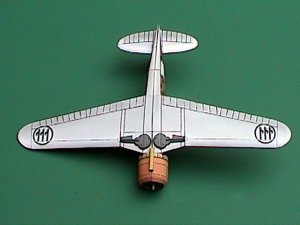
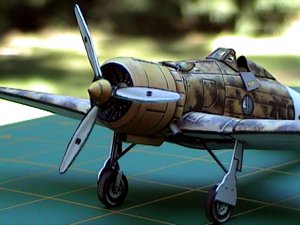
Here we have my build of Zio Prudenzio's G50, scaled to 1/72. The artwork is beautiful, but I think he made a mistake with the placement of the fuselage markings on the starboard side. I didn't realize there was a problem until I put the tailplanes on, and by then I was so far along in the build that I would have had to scrap the whole thing and start over. Too bad, it ruined an otherwise fantastic model.
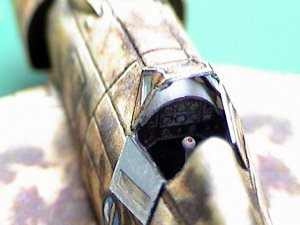
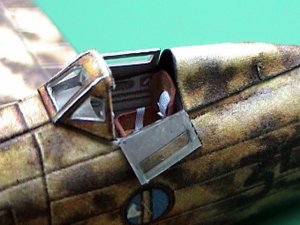
Anyway, the assembly was absolutely trouble free. The fit of each and every part was perfect. The version I chose had an open topped canopy, which called for a cockpit, and some extra work on my part. I resized a generic cockpit that I use for such occasions, and glued it in place from below before adding the wings. To show off the cockpit, I glazed the canopy from behind with cellopane, and then flowed clear glosscoat onto the front surface. I dropped one of the side curtains for a better view.
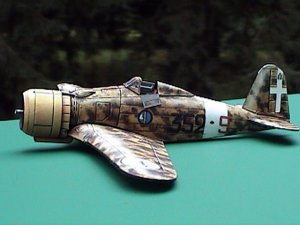
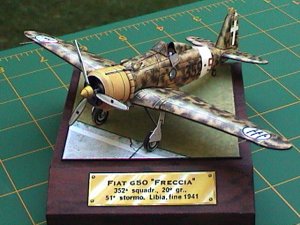
I as always, I finished the model off by mounting it to a paper base ("good" side facing the viewer). Except for the botched starboard fuselage markings, I'm very happy with this model.

Anyway, the assembly was absolutely trouble free. The fit of each and every part was perfect. The version I chose had an open topped canopy, which called for a cockpit, and some extra work on my part. I resized a generic cockpit that I use for such occasions, and glued it in place from below before adding the wings. To show off the cockpit, I glazed the canopy from behind with cellopane, and then flowed clear glosscoat onto the front surface. I dropped one of the side curtains for a better view.
I as always, I finished the model off by mounting it to a paper base ("good" side facing the viewer). Except for the botched starboard fuselage markings, I'm very happy with this model.
")
