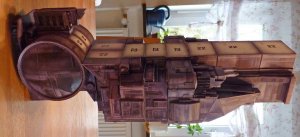
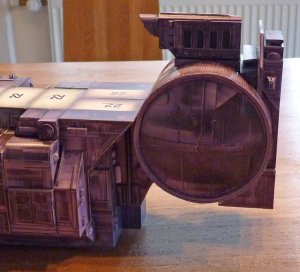
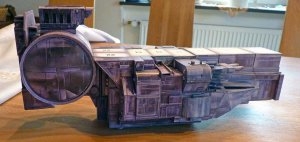
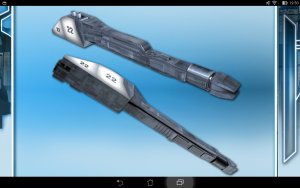
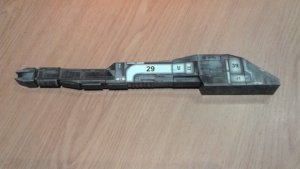
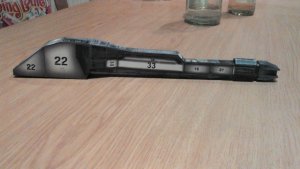
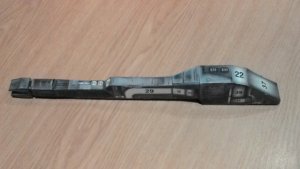
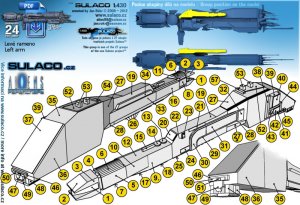
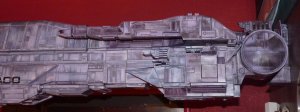
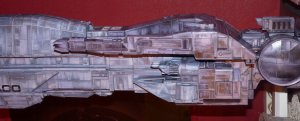
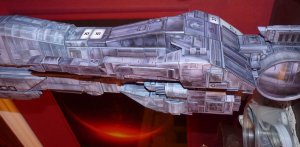
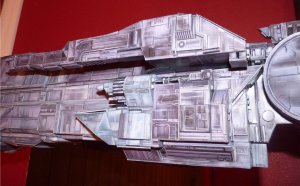
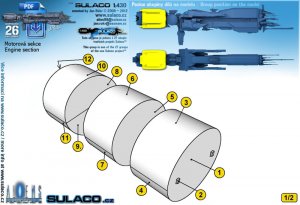
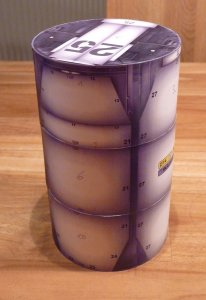
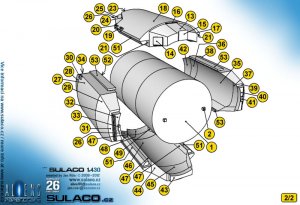
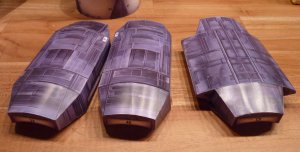
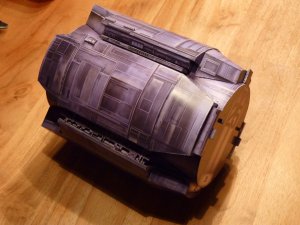
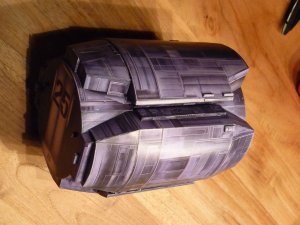
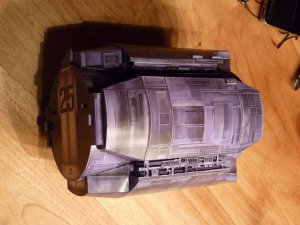
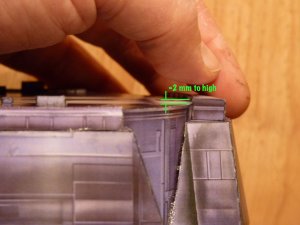
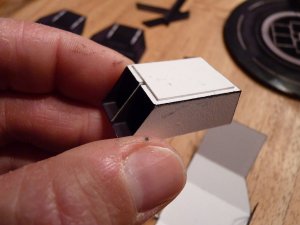
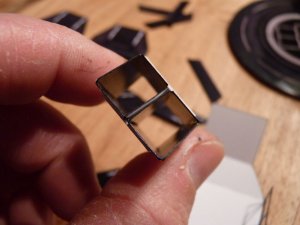
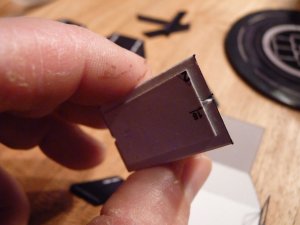
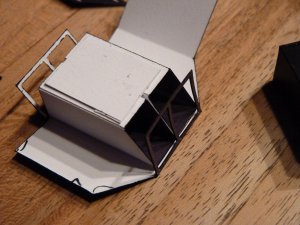
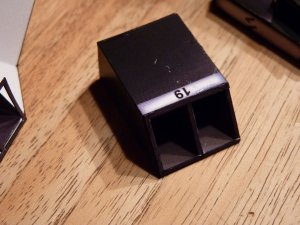
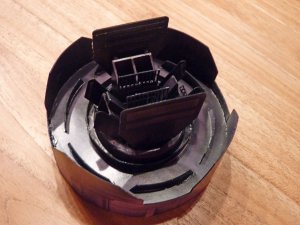
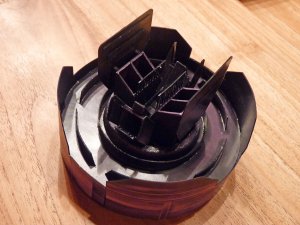
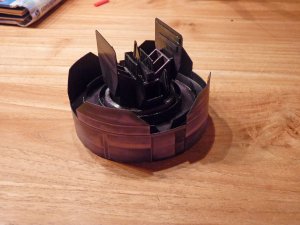
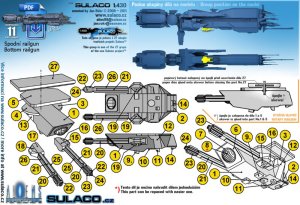
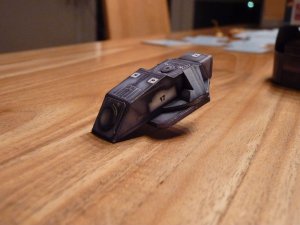
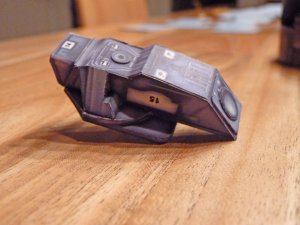
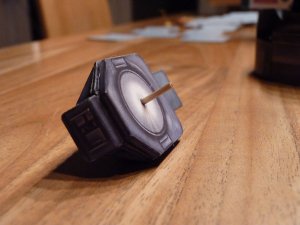
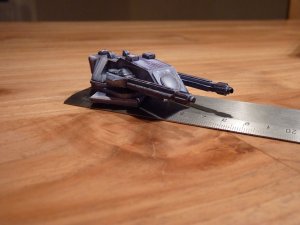
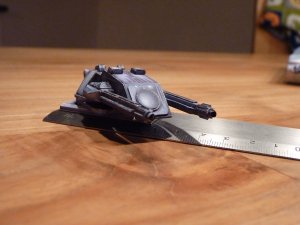
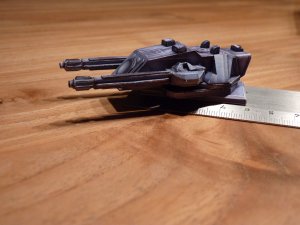
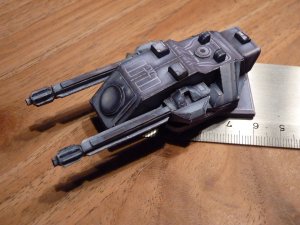
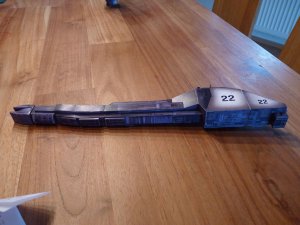
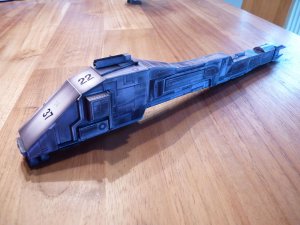
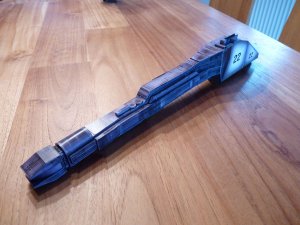
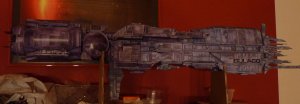
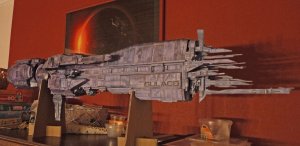
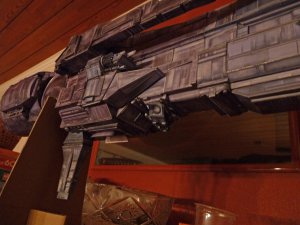
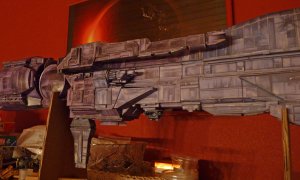
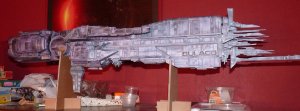
I used the same way to build those, only that I reinforced them with 3 mm thick cardboard to make sure they will be able to carry the weight of the engine part (the stand I made doesn't support the engine, only the main hull).
Sulaco 1/700
- Thread starter gilgamesch
- Start date
You are using an out of date browser. It may not display this or other websites correctly.
You should upgrade or use an alternative browser.
You should upgrade or use an alternative browser.
@zathros: the size is 61,5 % of the original kit. It's comfortable for presentation, but makes it harder to build some of the greebles and details…but every one is worth the "pain"
A little update. Attached the ridge on the top.
Procress so far:


Next: BIG GUNS…
A little update. Attached the ridge on the top.
Procress so far:


Next: BIG GUNS…
Cforrest900
Well-Known Member
this build is ASTOUNDING! I've always loved seeing pictures of this model, but have never had the courage to try it myself. Props to you for such a GREAT build and build thread
Started the LAST GROUP - yeebee!
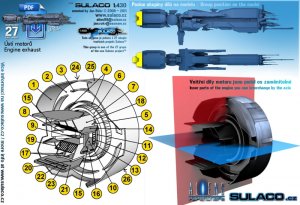
But this is again a big challenge for me. A lot of round shapes.:nailbiting:
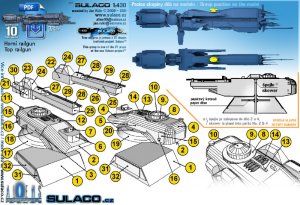
so I 'll start with the easy parts.
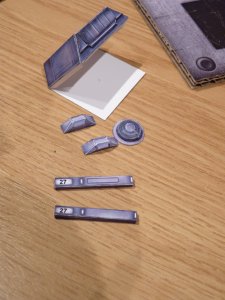
Parallel I also work at the name plate further.
The Corp. logo parts laminated onto thin cardboard.
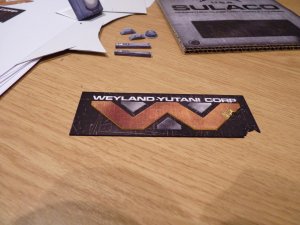
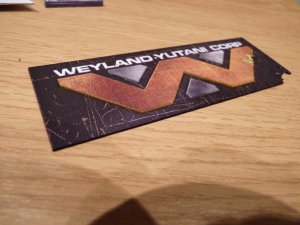
Also the main "metal" plate was laminated to thick corrugated cardboard. The side surfaces are covered later with paper strips.
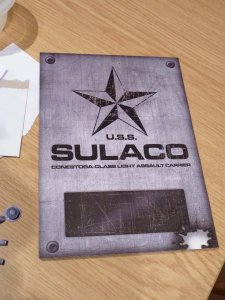
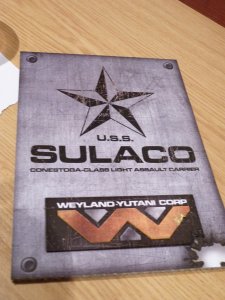
The white spot is later excised and inserted to simulate a molten acid hole.
But this is again a big challenge for me. A lot of round shapes.:nailbiting:

so I 'll start with the easy parts.

Parallel I also work at the name plate further.
The Corp. logo parts laminated onto thin cardboard.


Also the main "metal" plate was laminated to thick corrugated cardboard. The side surfaces are covered later with paper strips.


The white spot is later excised and inserted to simulate a molten acid hole.


