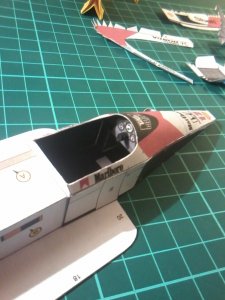
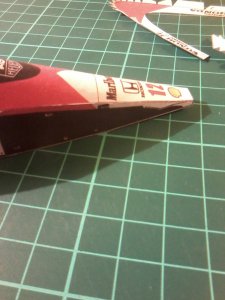
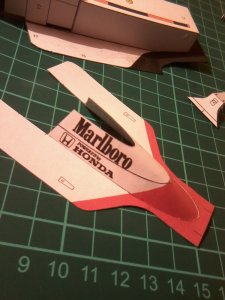
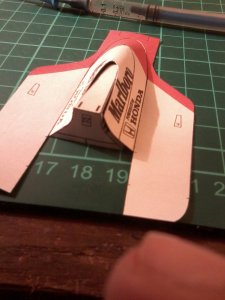
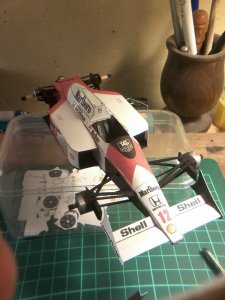
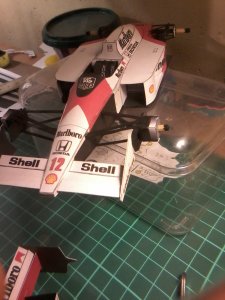
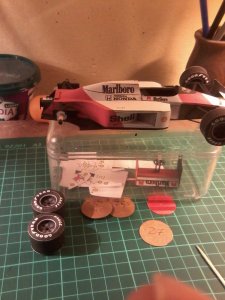
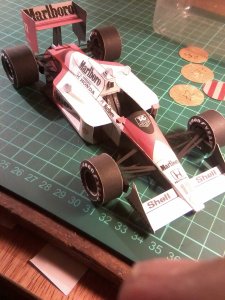
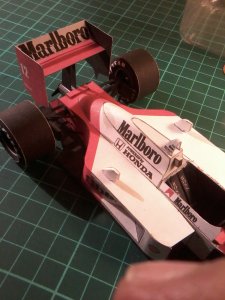
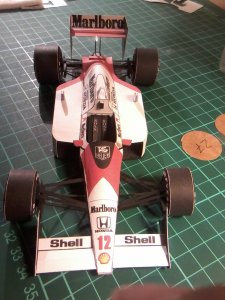
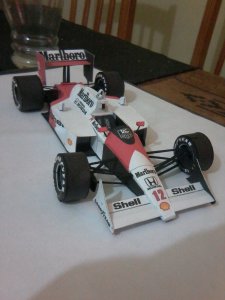
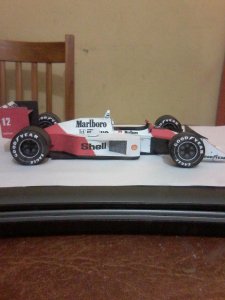
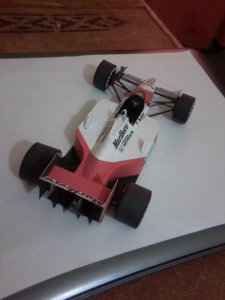
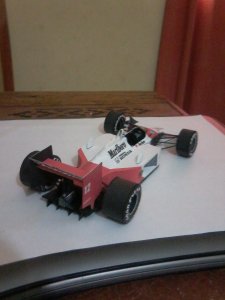
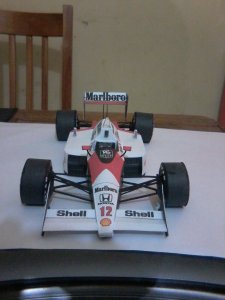
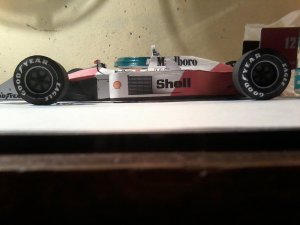
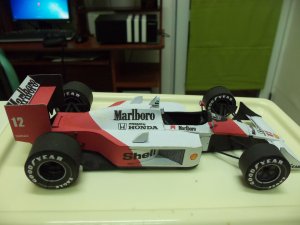
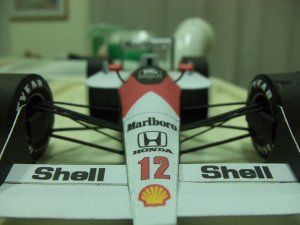
McLaren MP4/4 1:24 Senna

d5j4vu

Active Member
Apr 6, 2015
120
239
40
47
Hi everybody! I'm pleased to share this with you, i've builded this model after seeing (thanks to zathros posting about it) that spinlers got some 4 models for free download on his web.

This is my first thread about something else than the introduction, and its not a building thread for what i understand, but i wanted to share my experience with this. All about the dificulties, what i've found, what i did, what i can't, etc. So, photos, experience related, then more photos, and so.

I took this build to learn, so you'll see some things that gave me won a few days on jail for bullying the model :) but anyway, it's my 5th build, and my 2nd "mid level" so, that's ok by me.

Sry for my english.


1. Starting cutting pieces from 1 to 20, the wooden axis (from brochette), some scoring and folding.. at this point i've already learned something about scoring in the back for better fold in case of concave folds, but i decided not to do. One thind i do decided to do was painting the edges and such. As you'll see later, i'll do not the better way.
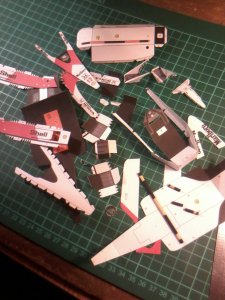
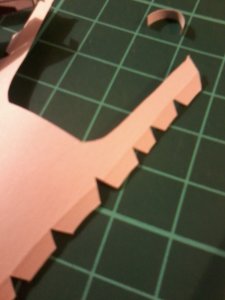
20150714_174705.jpg 20150714_190822.jpg

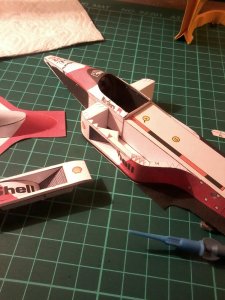
2. Start with glueing and assembling. I was not satisfied with the cut of the front section. The fact that was not painted at this point (now i think) actually unhelp with this feeling. The lesson was: take time, look at the model, observe the edges, analize for painting, do it, and then continue.
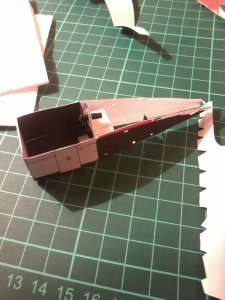
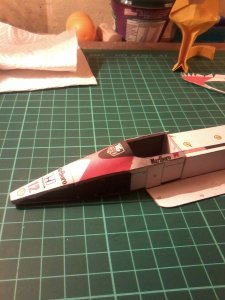
20150714_190833.jpg 20150714_222617.jpg 20150714_222631.jpg 20150714_222642.jpg

3. First "practice" with removing gluing tabs and using some inside tabs. For the curvature of the pieces it was a little challenge, but i do like the result. I'm thinking (for the following builds) not to remove all the tabs at once, but look to what can be removed without compromising the process. I was a little concerned about removing those from the top of the car, the one that holds in place the pillow for the helmet, so i didn't. Now i think i should have gave it an try. Anyway...
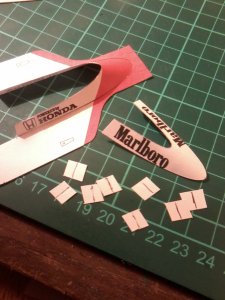
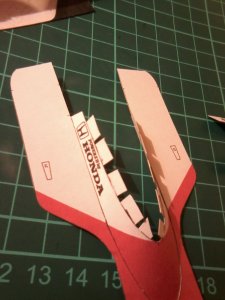
20150714_230705.jpg
20150714_231544.jpg20150714_235922.jpg 20150715_011954.jpg
 

d5j4vu

Active Member
Apr 6, 2015
120
239
40
47
4. Go on with the main body, radiators and seat. The seat belt was not present in the design, so i scratched some with the Boss brand. In fact the seat belt is compound of 3 pieces, this almost doesn't see in the model. I had a little trouble with placing the seat, the sides of it wasn't perfect, the angles looking at front were different and it tends to go to one side inside de cockpit. I have to improve my skills.
There are many tabs here in the sides of the body, now i think it can builded with less tabs, because despite having importance in the structural integrity of the body those tabs, there are many room there inside to try something else, inside tabs for example.

20150715_030323.jpg 20150716_011758.jpg

5. Wings, gear box and the top of the car. I was pleased the way they took. Truly the MP4/4 was a beauty, simple but with some advance aerodynamics for that time, one of them was the low profile of the body, taken from the Brabham BT55 (one of the designers was the same from BT55, Gordon Murray).
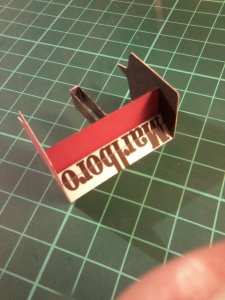
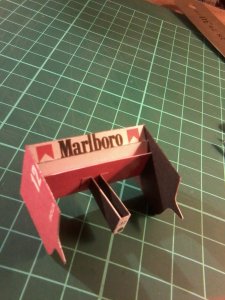
You can see here that i made a mistake with placing the air intakes and both was not fit perfect in place. This does have little consequences latter when placing the top of the body, but anyway looks ok. The rear wing i builded and leave it for placing latter.

20150720_220613.jpg 20150720_221106.jpg 20150720_225854.jpg 20150723_225844.jpg 20150724_013449.jpg 20150724_013546.jpg
 

d5j4vu

Active Member
Apr 6, 2015
120
239
40
47
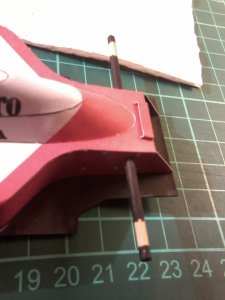
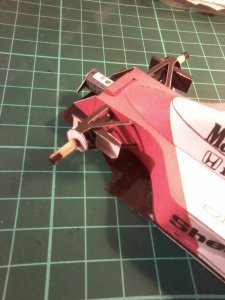
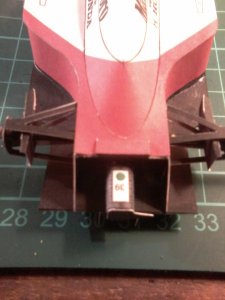
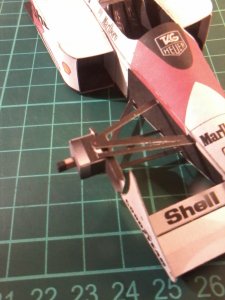
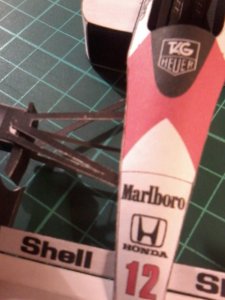
6. Suspensions, cooling for brakes, front axis for wheels and first painting. Here i realise that, like i say before, i got a bad decision leaving for latter the painting on the edges. So, i started to paint the suspension and the floor of the car (it was all black). It was already in place, but fortunately was no problem here, like in other places you'll see latter. Here i was enable to hide with paint some mayor mistake on the rear floor when gluing them. I miss about a 2 mm the glueing place! i had to remove carefuly with the cutter and glueing again. Then the painting cover that mistake. Lesson: pay some atention :)

20150730_132447.jpg 20150730_132529.jpg 20150730_210451.jpg 20150730_210511.jpg 20150731_000535.jpg 20150731_000552.jpg

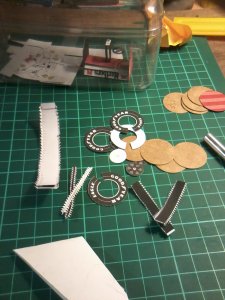
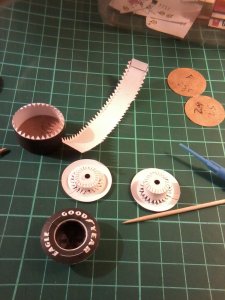
7. Wheels. Oh boy... this was nice but gave me some anxiety at the same time. I know the aspect of the wheels are key to the overall look of the model. I practice some other technique rather than the supposed method, using nothing but the designs, but after some thinking leave this and proceed with normal process. I calculate the diameter of the wheel (i do this because i cut a little the surface of the wheel that take contact with the floor, so it becomes a little shorter) and then build a disk with this diameter from cardboard to help me get the round shape of the wheel when i glue it. I cut a little the axial surface of the wheel because when i present for testing porpuses the side of it, it seems to be a little larger this axial surface. Latter when finishing the glueing i get some excess from this sides, like it can be seeing in the photos, so it seems to be that this difference was some sort of visual distorsion for me. After cutting the wheel surface i tried an inside tab for it, but have no success in matching the whole wheel, so i finish removing it and proceed glueing the surface itself.
A problem was that not all the wheels have been correctly constructed: the sides of the tires wasn't parallel nor the axis holes dind't match (i make the axis holes with a tool, not with the cutter), resulting wheels that get not properly placed. A little frustrating.. i'm thinking of building it with the axis in place before the glueing.
Also can see that the wheels has not be edge/tab painted. Latter in this task i'll learn that i have to improve my painting skills.

20150801_134744.jpg 20150801_201516.jpg 20150801_234116.jpg
 
  • Like
Reactions: Cforrest900

d5j4vu

Active Member
Apr 6, 2015
120
239
40
47
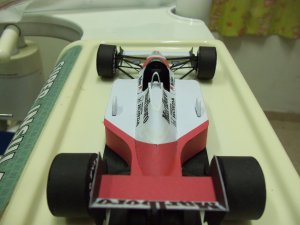
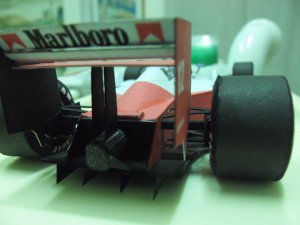
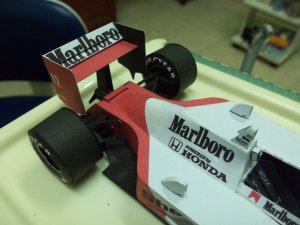
8. Rear wing placing and final details.
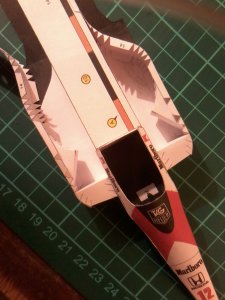
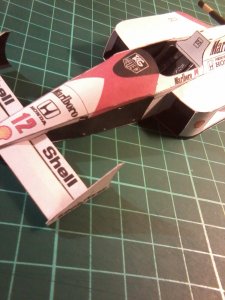
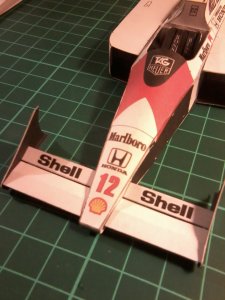
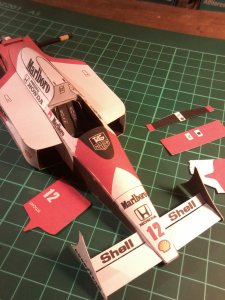
I had some trouble with the air intakes in the sides up, the little ones, in fact i have trouble with little surfaces and tabs. I was not satisfied with the result, but move on anyway. Here you can see the model almost finished, it lacks edge paint in most of the edges but the floor and suspensions. Also can see alot of black lines that i don't like. Latter can be see painted with some minor success. This i think it can be resolved in the earlier stages of the build, like painting the black lines with white acrylic or just cutting the parts leaving those black lines.
If you see distorted some photos the reason is i use a lenth in front of the phone camera. I read somewhere that it helps with photo definition, and besides the distortion in some photos, they looks better.

20150802_035527.jpg 20150802_035535.jpg 20150802_035550.jpg

If misses this, there is a "detail" in the top back of the engine cover: a "white spot". For that i deserve some time on jail:) it was an attempt to hide the black line in that area with white paint. Latter i realise it not was that white like i thought. Anyway, now i realise there is difficult to paint like this, because you need to match the colour of the paper. Instead, the b plan i took was get a fine tiny brush and paint nothing but the lines. Again, you have to match the colour of the paper... lesson learned somehow.

9. Painting the edges, black lines and related details.
Here you can see the results of my first (not just on the model, but my very first) painting attempt. Wheels, nose, engine cover, upper air intakes, also some red where needed. For the red parts i used a red acrylic pencil, for the white lines a tiny thin brush with white acrylic. The brush is the way, not the pencil. Unless you paint before glueing.

The mirrors looks fine :). For those i used a little phone wire with black insulation. Its a little thick but not so much.

20150806_084622.jpg 20150806_084647.jpg 20150806_084741.jpg 20150806_084749.jpg 20150806_084817.jpg
 

d5j4vu

Active Member
Apr 6, 2015
120
239
40
47
I promise more quality photos when i can, specially with the details of my experience. Any advice will be perfect, i'm new in the hobby and like not just build, but also learn and share.
 

d5j4vu

Active Member
Apr 6, 2015
120
239
40
47
Thanks for the words, this is much fun and i'm pleased to show you. I take this as a challenge to learn, in the meantime i'm respectfuly ask for advices in the details and techniques that you can see will improve the models. I was thinking on painting with varnish, but i'm not sure what will do the job. I've readed that with time white glue takes a yellow colour, so it will not be this one. I've also readed not to paint the wheels (better said, the rubber in the wheels), it looks better without the shining look that varnish put on, and i agree.

I've already printed the c22 from the same free source, but now i'm with other project in mind. The other one will take much, so i'm thinking on take the c22 as a "relax time" from the other one.

Related to Senna vs Schumacher, well i don't like to think in those terms. I do think that drivers like Senna, Prost, Hill, Schumacher, Alesi, Hakkinen, Mansell and so many others took the F1 to a level that really deserves, the top of the competition. Now i think it's a very good franchise, but not much more.

That said, i do think that Ayrton was a trully one in a billion. I think that this statement says it all. I remember last Vettel's win, when the journalist (i think it was Martin Brundle) tells him "I guess you didn't know, with this you matched Ayrton victories, what do you think about this?" well, Vettel put a face that speake ifself, it was paralized for a moment, and then say "I din't know, but what can i say... Ayrton was in another planet". With his face you can recognize that he did not really understand what it means.
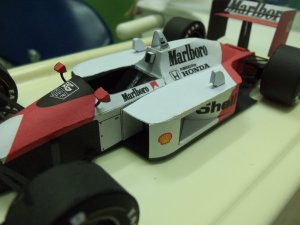
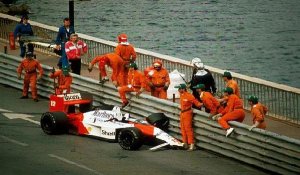
I love F1!
 

zathros

*****SENIOR ADMINISTRATOR*****
Staff member
Administrator
Moderator
Apr 5, 2013
13,498
9,549
228
Very nicec. I like these models. Does the suspension actually hold them up? Just wondered. It looks great! :)
 
  • Like
Reactions: d5j4vu

d5j4vu

Active Member
Apr 6, 2015
120
239
40
47
Thanks zathros. well, it never ocurred to me that until now! it was a little hard to take a picture with my phone, but yes, the suspension hold the chassis some 1mm or so. I hope that it can be seen here. The design is great.20150808_205326.jpg
 

zathros

*****SENIOR ADMINISTRATOR*****
Staff member
Administrator
Moderator
Apr 5, 2013
13,498
9,549
228
Wow!! Now that I do find amazing and YES, you can definitely see it in the photograph. That really is quite a model! Well done indeed. thumbsup :)
 

d5j4vu

Active Member
Apr 6, 2015
120
239
40
47
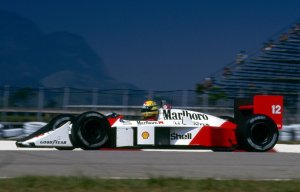
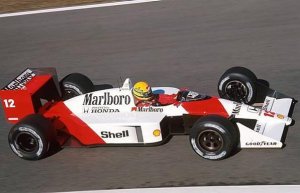
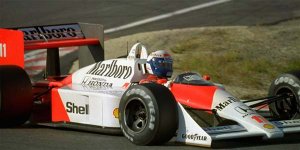
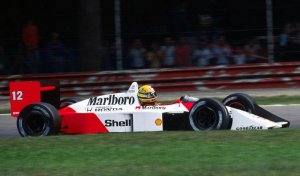
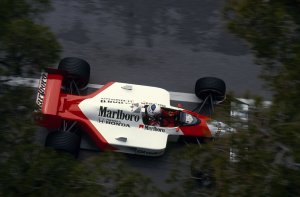
I found a couple of details. The "helmet cushion" was used in Prost's car, and not were in Ayrton's car. "the little professor" :). Another detalis is the side pontoon, where escapes the hot air from the radiators, in slow circuits like Monaco, Detroit, McLaren uses this that you can see in the model, a "bigger one". In fast circuits like Spa, Imola, it used a shorted version of this. You can see this here. Also you can see the "cushion" in Prost's car, and not in Senn'as.

003_small (1).jpgmclaren-1988-senna-brazilie-02.jpg 1988_mp44_japan.jpg 3 AP Photo-Naokazu Oinuma.jpg 1988-McLaren-Honda-MP4-4.jpg tumblr_m4tt5eCKPu1rod8iso1_1280.jpg
 
  • Like
Reactions: Cybergrinder

zathros

*****SENIOR ADMINISTRATOR*****
Staff member
Administrator
Moderator
Apr 5, 2013
13,498
9,549
228
These details go far beyond my knowledge. You model stands on it's own as a beauty! :)