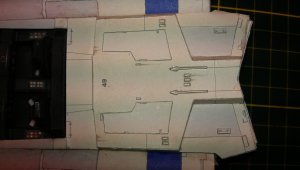
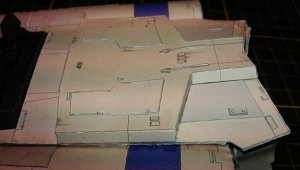
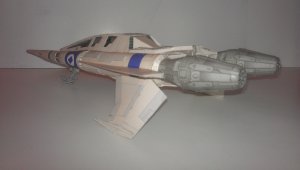
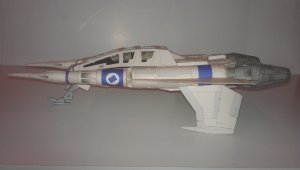
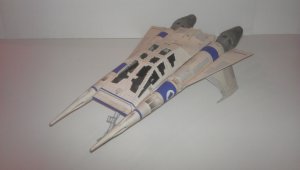
Parts 104 & 142 are glue strips that need to be put on (the top of) parts, 206 & 211 so that you can attach parts 67 & 105 (after you have assembled parts 67-87 & 105-127 into their respectable sum-assemblies)
Detailed Thunder Fighter Project
- Thread starter Rhaven Blaack
- Start date
You are using an out of date browser. It may not display this or other websites correctly.
You should upgrade or use an alternative browser.
You should upgrade or use an alternative browser.
Unfortunately, the pictures do not show it, but it is a glue strip that helps hole parts 206 & 211 to parts 67 & 105.
The flat side is attached to the (inside) top of 206 & 211. The toothed side is what holds (the bottom) parts 67 & 105 to parts 206 & 211.
The flat side is attached to the (inside) top of 206 & 211. The toothed side is what holds (the bottom) parts 67 & 105 to parts 206 & 211.
If you take a close look at the parts pages you will see that Martin has sort of grouped the parts. The layout tells you which parts belong together. Follow the shape of the parts to see which end goes where. All untextured parts are either formers or (if they have teeth  ) glue tabs. Using separate parts as glue tabs makes the finished product look much smoother and cleaner.
This is a small update.
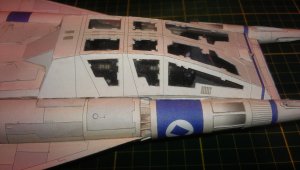
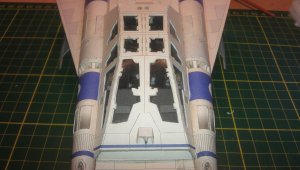
I have attached the cockpit interior to the upper skin.
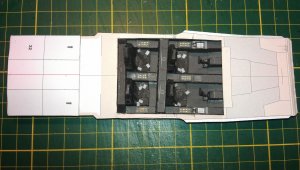
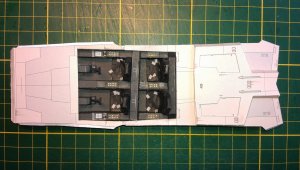
The upper skin is attached to the main body of the plane.
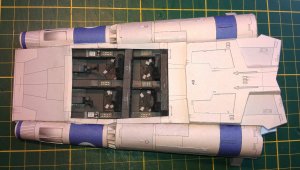
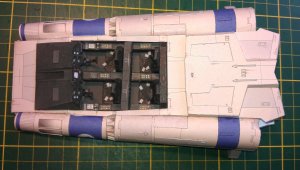
The main console is now in place.
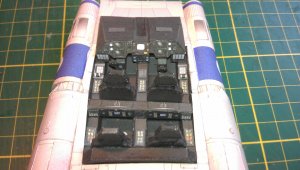
Now to work in the rear end and add greebles!!!
Please stay tuned to your local Earth Directorate Broadcasting channels for further updates as they happen.
Thank you for watching.
I have attached the cockpit interior to the upper skin.


The upper skin is attached to the main body of the plane.


The main console is now in place.

Now to work in the rear end and add greebles!!!
Please stay tuned to your local Earth Directorate Broadcasting channels for further updates as they happen.
Thank you for watching.
Is the basic thunderfighter in the resource section? if so in what section? I lost all the plans I had when my last puter died.
No, the Thunder Fighter templates are not in the RESOURCE Section.Is the basic thunderfighter in the resource section? if so in what section? I lost all the plans I had when my last puter died.
You can find the (basic) Thunder Fighter templates (as well as the rest of the add-ons) here: http://www.paperaviation.de/
The actual templates can be found here: http://www.paperaviation.de/Thunderfighter/thunderfighter.html
ENJOY!!!
Get them all!
YEP, by all means!
Things have a way of disappearing!
True, but not when RB and I are involved!
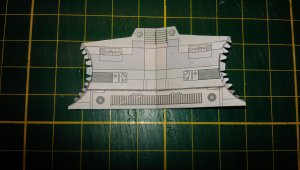
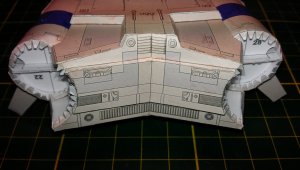
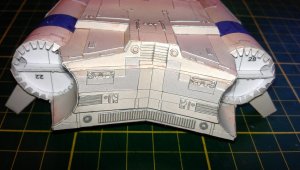
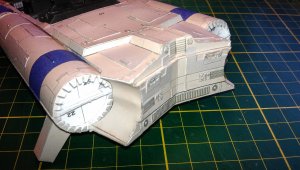
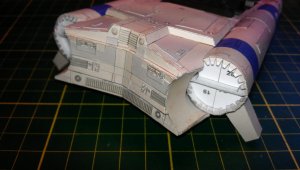
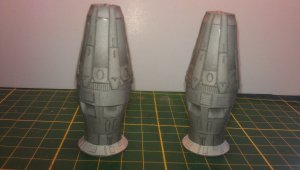
Here are the exhausts. I added all of the detail that I could and made them as close to screen accurate as possible.
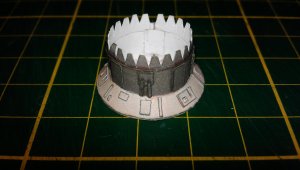
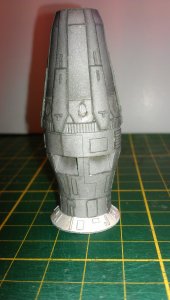
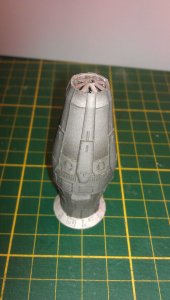
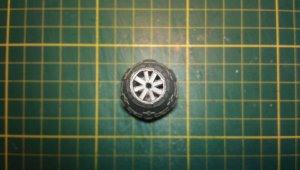
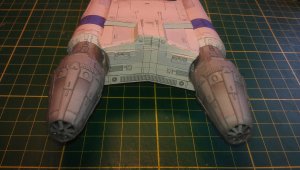
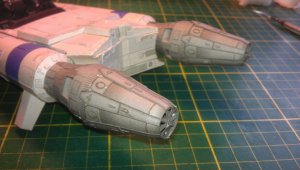
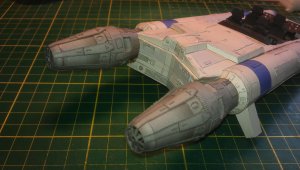
The Exhausts are now attached!
Now on to the landing gear and wings.
Please stay tuned to your local Earth Directorate Broadcasting channels for further updates as they happen.
Thank you for watching.


The Exhausts are now attached!


Now on to the landing gear and wings.
Please stay tuned to your local Earth Directorate Broadcasting channels for further updates as they happen.
Thank you for watching.
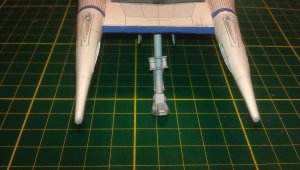
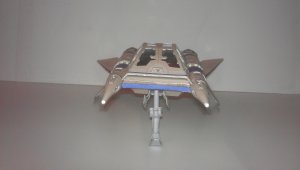
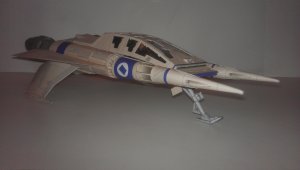
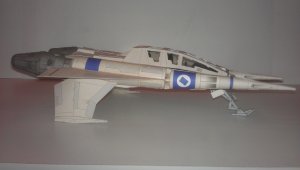
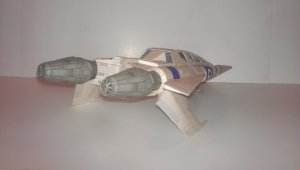
Here is another update. I have attached the landing gear bay doors and added the same brackets that I used on my last TF build.
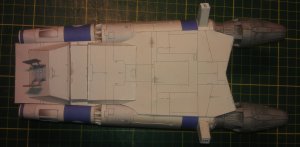
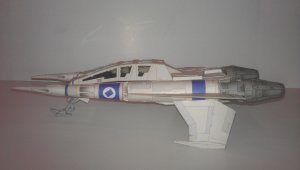
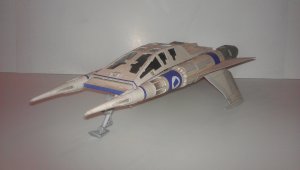
I attached the main landing gear.
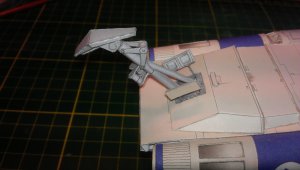
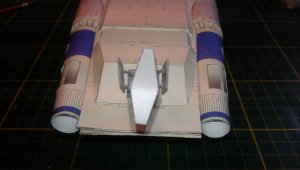
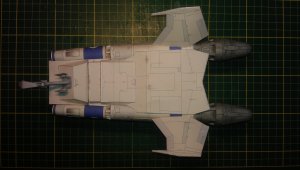
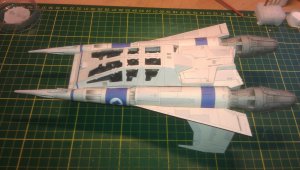
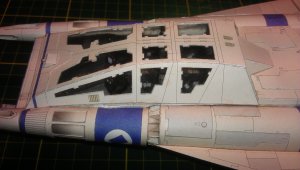
I attached the lower wings.
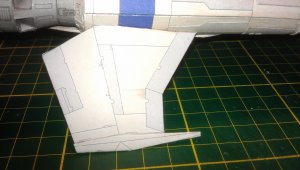
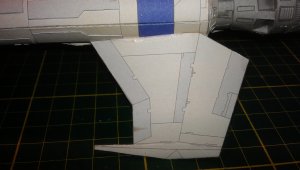
I attached the main wings.
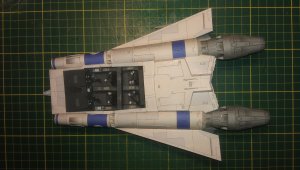
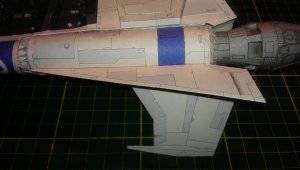
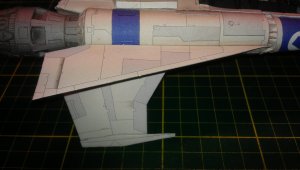
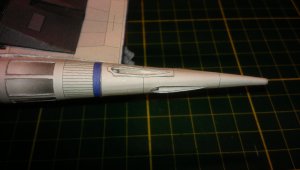
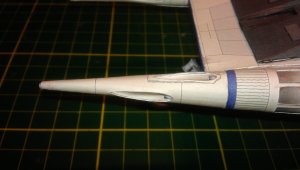
Now onto the sponson cones and the canopy.
Please stay tuned to your local Earth Directorate Broadcasting channels for further updates as they happen.
Thank you for watching.

I attached the main landing gear.


I attached the lower wings.


I attached the main wings.


Now onto the sponson cones and the canopy.
Please stay tuned to your local Earth Directorate Broadcasting channels for further updates as they happen.
Thank you for watching.
Thank you. I got the idea from your 1:18 TF build.RB, Those landing gear doors mods looks outstanding!


