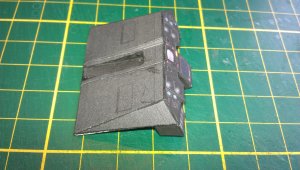
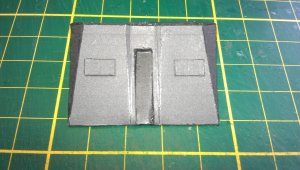
Oops! Yes, glossy paper.... I chose it for my very-first TF. Had no trouble because I used standard UHU glue. That was a few weeks before I joined Zealot and the paper was much more "obedient" to my commands..!  Recently I have printed some kits on another kind of glossy (photo) paper which is horribly to work with. I will use it in strategic points of my builds though (e. g. for eyes or mouth parts of a figure).
Detailed Thunder Fighter Project
- Thread starter Rhaven Blaack
- Start date
You are using an out of date browser. It may not display this or other websites correctly.
You should upgrade or use an alternative browser.
You should upgrade or use an alternative browser.
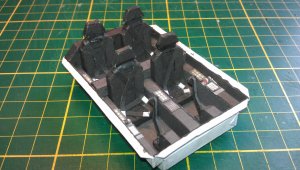
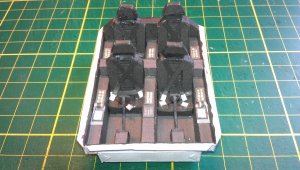
I have started building the QUAD Thunder fighter now.
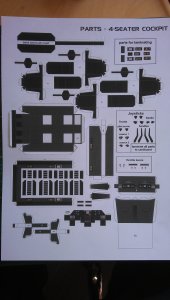
I started with the cockpit interior. Here is the parts sheet for it.
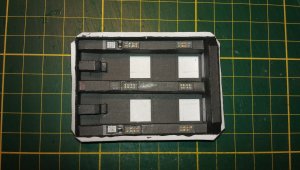
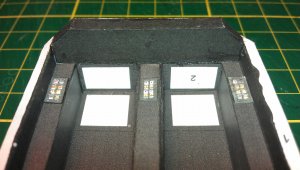
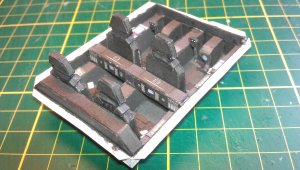
Starting with the tub.
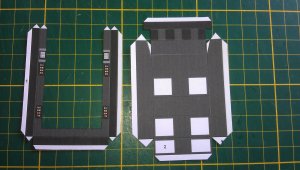
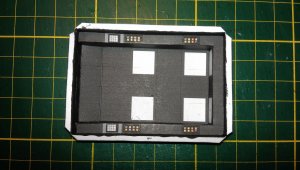
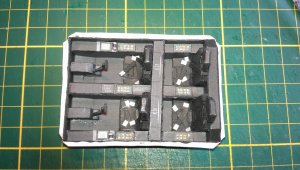
Here is the center console.
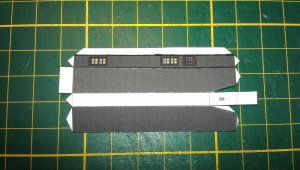
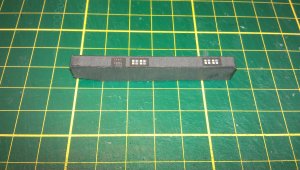
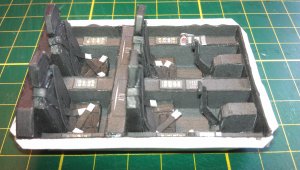
The center console is in place.
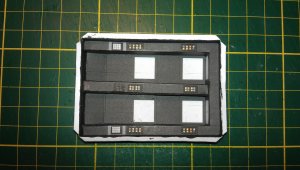
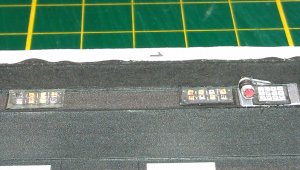
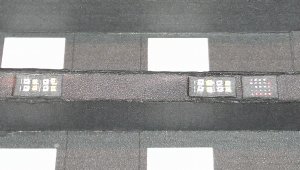
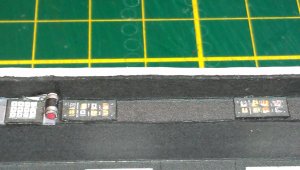
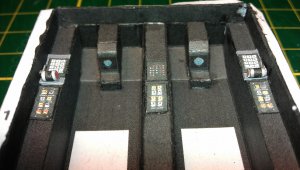
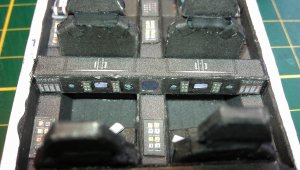
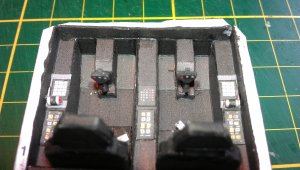
Here I attached the details for the different control panels. I raised the panels (themselves). Then I raised each button (for more of a realistic look.).
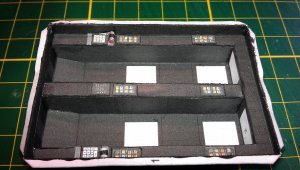
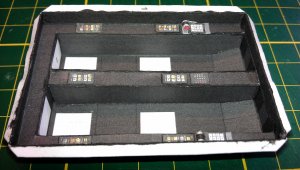
I started with the cockpit interior. Here is the parts sheet for it.

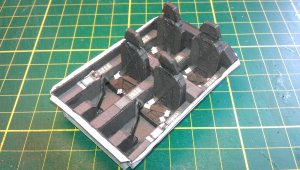
Starting with the tub.


Here is the center console.


The center console is in place.

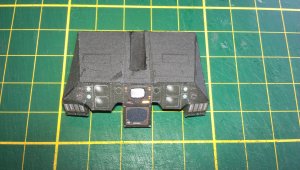
Here I attached the details for the different control panels. I raised the panels (themselves). Then I raised each button (for more of a realistic look.).


Dang it, man. Cutting and pasting those buttons could not have been an easy thing to do. Do you have some clever way of making it less tedious?
Yes, it is a VERY tedious job. Unfortunately, I do not have any way of making it any less tedious.Dang it, man. Cutting and pasting those buttons could not have been an easy thing to do. Do you have some clever way of making it less tedious?
The best way that I have found to do this, is to start with attaching all of the base panels first. Then go through and add the buttons (one panel at a time). That way, you get the nice layered effect.
I would also suggest only doing two or three panels at a time, get up and walk around (do something completely different for a few minutes, like getting yourself a cup of coffee.), then go back and return to the project. That way you give your eyes (and yourself) a bit of a break (and you will not make any mistakes).
Good luck with your build. I am looking forward to seeing how it will turn out!!!
Yeah, we had a lot of guests this last weekend and will again this upcoming weekend, so I had to put my model-making table away to make room. I don't know if I'll be able to do anything until the beginning of next week.
Yeah, we had a lot of guests this last weekend and will again this upcoming weekend, so I had to put my model-making table away to make room. I don't know if I'll be able to do anything until the beginning of next week.
Take your time. There is no rush!!!
Small details like this are what make the model stand out. Eventually I will build this model again sometime in the future but I will probably use the seat Harness from UHU02's viper. Thanks for sharing and keep up the great detail work.
Small details like this are what make the model stand out. Eventually I will build this model again sometime in the future but I will probably use the seat Harness from UHU02's viper. Thanks for sharing and keep up the great detail work.
Thank you for the compliment!
I am really looking forward to seeing your build of the TF!!!
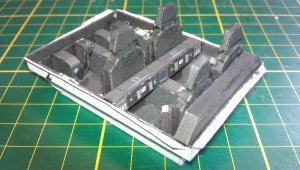
Here are the lower skins being added.
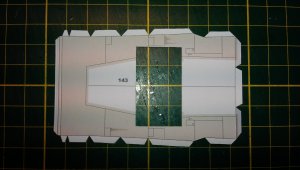
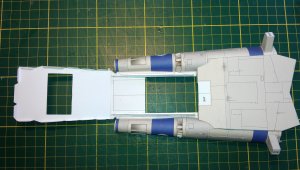
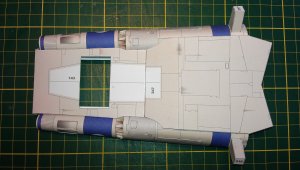
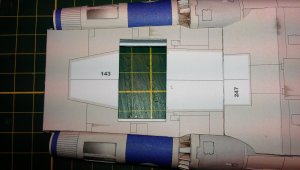
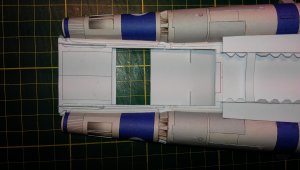
Revell-Fan had made a few changes to the main console. So I had to rebuild it.
I have added as much detail as I possibly can. I wanted to make it look (and feel) as realistic as possible.
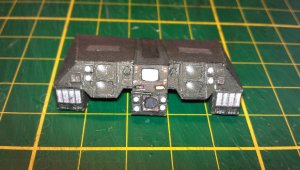
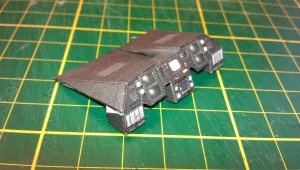
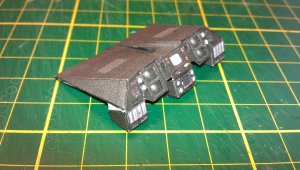
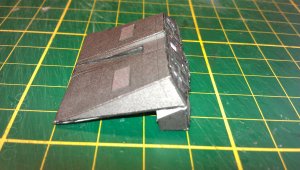
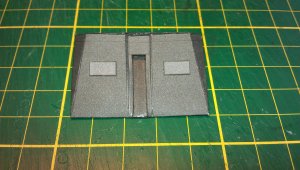
Please stay tuned to your local Earth Directorate Broadcasting channels for further updates as they happen.
Thank you for watching.


Revell-Fan had made a few changes to the main console. So I had to rebuild it.
I have added as much detail as I possibly can. I wanted to make it look (and feel) as realistic as possible.


Please stay tuned to your local Earth Directorate Broadcasting channels for further updates as they happen.
Thank you for watching.
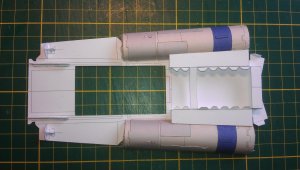
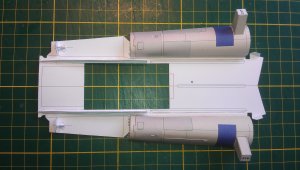
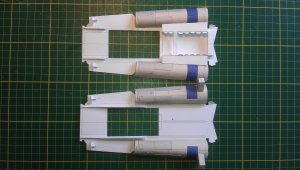
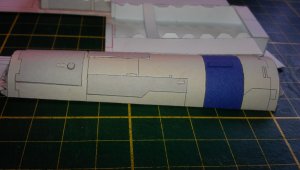
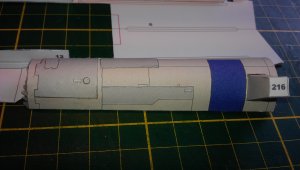
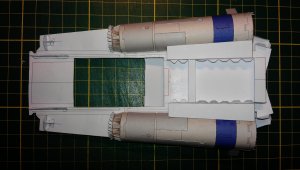
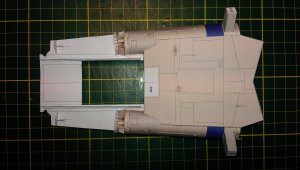
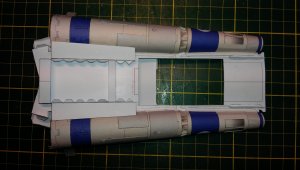
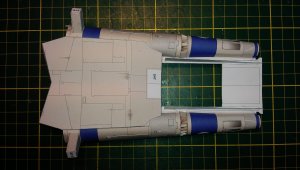
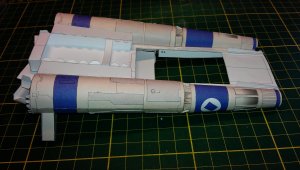
So, you join the two halves of the body together, then do the forward sections of the sponsons, then add the lower forward skin, then the upper forward skin...
YEP!So, you join the two halves of the body together, then do the forward sections of the sponsons, then add the lower forward skin, then the upper forward skin...
The construction goes easier.
Add the cones next, and lastly the front strip (part 34).
You will get much better results doing it this way.
What are parts 104/142 for? Do they help join the engines to the engine mounts (208/206/210)? If so, is it best to glue 104 to the engine, or to the mount?


