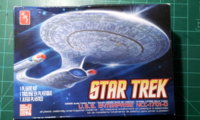
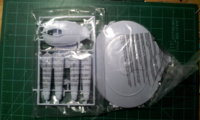
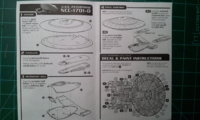
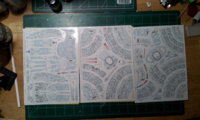
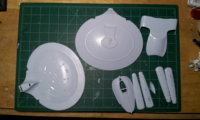
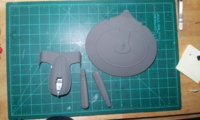
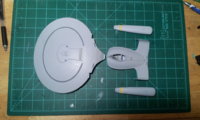
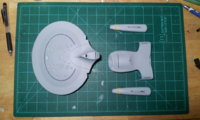
AMT 1:2500th Enterprise D from TNG
- Thread starter micahrogers
- Start date
You are using an out of date browser. It may not display this or other websites correctly.
You should upgrade or use an alternative browser.
You should upgrade or use an alternative browser.
Nice kit! I have the larger one in 1:1400th scale. The decals are tough to apply, especially on the engineering hull with its fancy curves. Use Microsol and Microset or something like that in order to attach them smoothly to the surface.
I have been using MicroSol and MicroSet for many years, and I used Testors Decal Set before them. I have several E-D 1:1400th kits as well as E-C and E-E, but no space to display them once built, so I'm using up my supply of 1:2500th kits.Nice kit! I have the larger one in 1:1400th scale. The decals are tough to apply, especially on the engineering hull with its fancy curves. Use Microsol and Microset or something like that in order to attach them smoothly to the surface.
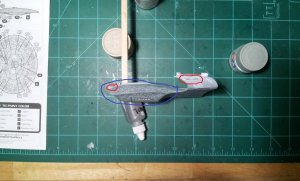
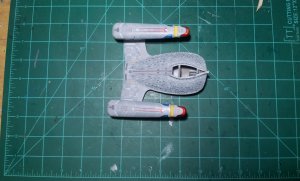
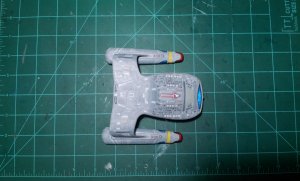
A composite update of this weeks progress on my E-D.
The topside of the secondary hull received 4 base layer decals and 3 second layer decals.
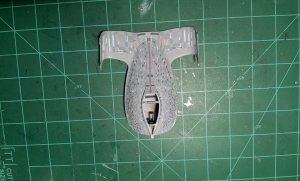
The bottom side of the secondary hull got 3 base layer decals and 5 top layer decals.
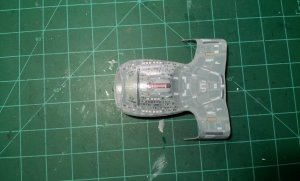
Then the secondary hull was flat coated and the deflector dish was painted to simulate the lighted affect.
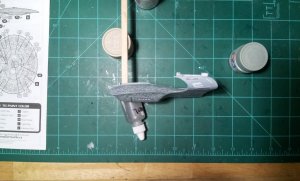
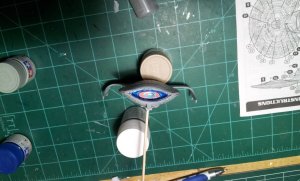
That brings the running total of decals up to 41. Next will be the primary hull and dorsal.
More to come.
The topside of the secondary hull received 4 base layer decals and 3 second layer decals.

The bottom side of the secondary hull got 3 base layer decals and 5 top layer decals.

Then the secondary hull was flat coated and the deflector dish was painted to simulate the lighted affect.


That brings the running total of decals up to 41. Next will be the primary hull and dorsal.
More to come.
You say "base layer" and "top layer" decals... Do you apply some decals on top of other decals? If yes: How do you prevent the bottom layer from being lifted off or shifted by the moisture of the second layer? Are the decals half-transparent or do the second layer decals cover the base layers completely?
No Prob RF, we do these to help others. My printer is dead and until work pics up I have no way to get another, so no paper modeling. Instead I'm using up my stash of plastic kits.Thanks for the info!
Hmmm maybe a section could be added to the forum for us plastic modelers?
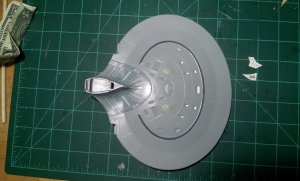
and my day off update 
In this small scale the interconnecting dorsal is molded with the saucer, so I got the dorsal decal-ed,
Five decals on top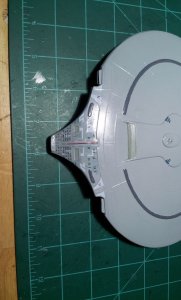
And nine on bottom,
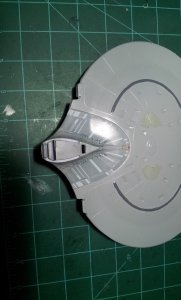
and then got the base layer decals applied to the top of the saucer. eleven in all
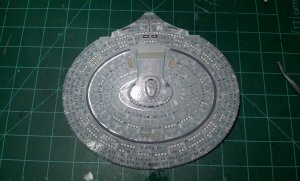
so 25 more decals applied today, for a total so far of 66 so far.
Next will be the underside of the saucer, then final top layer decals
In this small scale the interconnecting dorsal is molded with the saucer, so I got the dorsal decal-ed,
Five decals on top

And nine on bottom,

and then got the base layer decals applied to the top of the saucer. eleven in all

so 25 more decals applied today, for a total so far of 66 so far.
Next will be the underside of the saucer, then final top layer decals
WOOOW! This is a lot of work but it is worth it. I like the idea to skip the (daunting) masking and airbrushing process and to do everything with decals. The result is very clean and you don't have to clean your equipment at the end of the day.
Thanks Revell-Fan, off sick today ugh.... but using the extra day off to try and finish up the project.WOOOW! This is a lot of work but it is worth it. I like the idea to skip the (daunting) masking and airbrushing process and to do everything with decals. The result is very clean and you don't have to clean your equipment at the end of the day.


