Christmas Train

DAVESTAR

Well-Known Member
Oct 25, 2013
144
185
58
Project: Christmas Train
Designed by: Julius Perdana - Paper Replika
Pages: 12
Why: December and its a train.
Changes: None

Materials
Elmer's Craft-Bond Paper Craft Glue Gel
Kodak Photo Paper (kinda glossy - the cheap thin one - good for buttons)
Scissors and an X-acto if needed.

Started this one while visiting during Thanksgiving. (No we did not have the paper turkey - but we did have smoked turkey - good stuff)

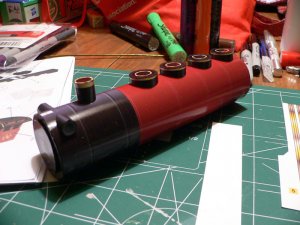
CT01.jpg
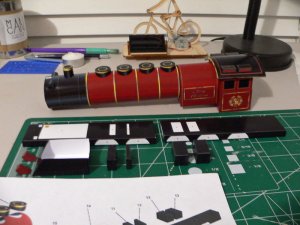
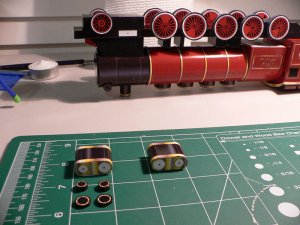
Looks like a big AA battery at this point.
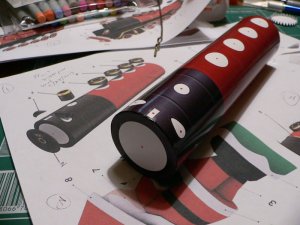
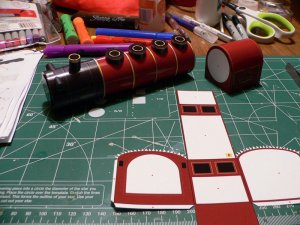
CT02.jpg

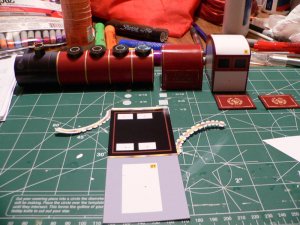
CT03.jpg
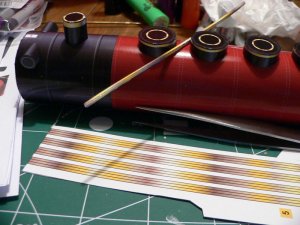
Had a brain fart here. I cut out the first of the 5 gold bands that wrap around the main tube of the train. I had no idea what so ever what to do with it based on the instructions. :cry:
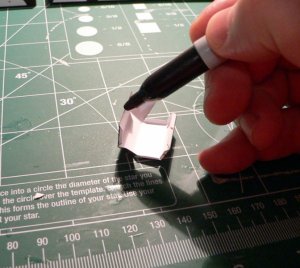
CT04.jpg
The band must be 3D so I folded it at each line which made a three sided "box". Cool - but without cut outs there is no way to wrap it around the circular body of the train. I settled by folding and gluing the three sides together - sort of rolling it - so it came out flat. This worked but took a lot of time so for the the last four bands I cut so I only had to fold it once instead of twice. In other words I cut off one of the three "strips" so only two were used folded in half. This leaves the back fold exposed with the paper edges - I used a yellow marker to help mask this. Yes - my builds look better the farther away you get from them! :thumb:
CT05.jpg

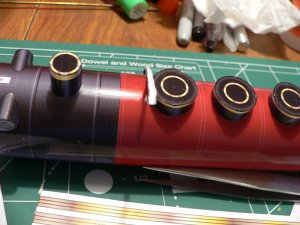
Not too bad - first band with all three strips is a little thicker.
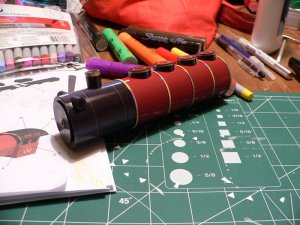
CT06.jpg

CT07.jpg

CT08.jpg

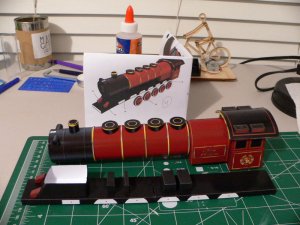
Almost done with the second page of instructions.
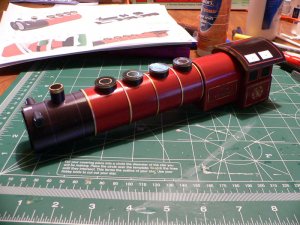
CT09.jpg

More to come... Thanks for following along...
 

DAVESTAR

Well-Known Member
Oct 25, 2013
144
185
58
Thanks inky, Rogerio and Rhaven. Not sure I'll finish by Christmas - its a busy month!
 

DAVESTAR

Well-Known Member
Oct 25, 2013
144
185
58
Thanks Cforrest900. I have used the same paper for all my builds except for Mjolinr - used Card Stock for that due to its size and the need for extra strength - it is a hammer after all. The glossy paper does "break" a little on the edges but a colored marker hides that pretty well.
 

DAVESTAR

Well-Known Member
Oct 25, 2013
144
185
58
So back at home and have now completed up to page 3 of the instructions.
(These pictures were enhanced so they would not be so dark.)

Coloring the edges. This hides any "cracking".
CT10.jpg

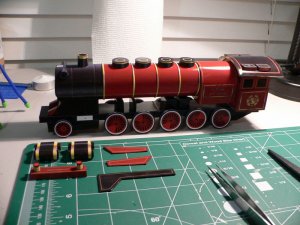
Bottom frame assemblies completed. Nothing too hard here.
CT13.jpg

Bottom frame completed
CT14.jpg

On to page four....lots of wheels coming up...

Thanks
 

DAVESTAR

Well-Known Member
Oct 25, 2013
144
185
58
Finished!

Well, actually finished on Christmas Eve and I must say this was a really tough build. Being a beginner I was not entirely sure if some assemblies were missing tabs or not. I know there is a technique of not using tabs, but at this stage I prefer the tabs – especially when trying to finish by a certain date. The instructions really added to the “puzzle” challenge of this model. If you plan to build this model and like a good challenge, stop reading now – I guess this would be a spoiler warning…

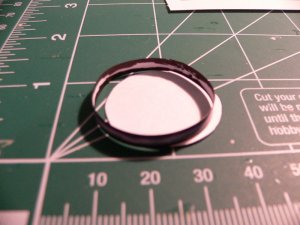
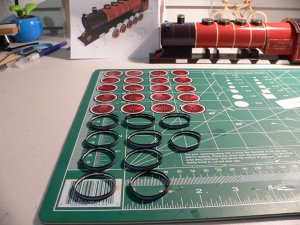
The wheels were difficult since there were no tabs. On some I forced one “circle” into the “ring” which helped make the wheel round (or at least as round as I cut the circle). The forced circle was then pushed down flush with the edge of the ring and then glue added on top of the “seam”. The other circle was then glued on the top edge of the ring. This did not make for a very secure glue connection. On some I ended up making “tabs” to help strengthen them.

Several of the other parts did not have tabs either - of course I found this out after cutting and folding several of them – ended up reprinting and drawing in the tabs – this really helped in securing the pieces. An example of this is the rails – they look like they have a tab but that is just the bottom glue surface.

Part number 30 had me stumped for a while – I was not sure if they were supposed to be 3D or flat – I made them flat – I think I guessed right?

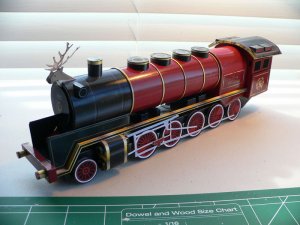
Unfortunately I did not review all the way to the end of the instructions – always, always review to the end! The deer heads should NOT be attached to the train until after both wreathes have been built! I did not want to tear the heads off and since there was little time left, I made the wreathes 2D – this let me cut a slit and slip them around the head. Definitely does not look as nice as was intended - but better than nothing and I was pressed for time – yeah, that’s the ticket. Since the deer wreathes were 2D, I made the last two on the car 2D as well to match. Who is to say the wreathes were not painted plywood instead of real wreathes?

This was an excellent model and was a great learning experience – I really recommend giving this one a try.

Merry Christmas! 2013

Picture attachments are not working - I'll upload when they are working.
 

zathros

*****SENIOR ADMINISTRATOR*****
Staff member
Administrator
Moderator
Apr 5, 2013
13,496
9,548
228
Happy it worked out. Having technical problems. Hoping they get fixed and soon. :)
 

DAVESTAR

Well-Known Member
Oct 25, 2013
144
185
58
Hey the site looks great! Here are the remaining pictures.
A wheel - face on the side or inside?
CT15.jpg
Plenty of wheels to do
CT16.jpg
Wheels drying
CT17.jpg
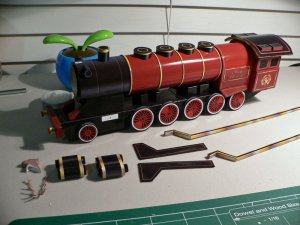
More parts
CT18.jpg
And more parts...
CT19.jpg
Finished engine
CT20.jpg
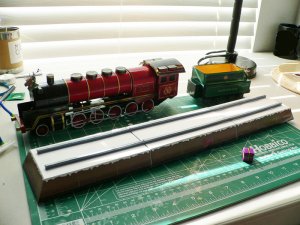
Track is ready
CT21.jpg
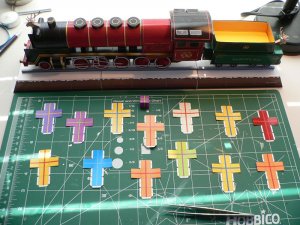
Now to make the presents - may want to make more for a fuller effect.
CT22.jpg
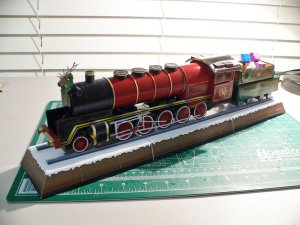
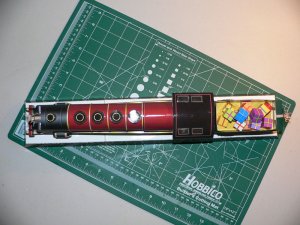
Finished!
CT23.jpg
Not perfect...but finished!
CT25.jpg
Looked great next to the Christmas tree.
Thanks for following along. :)
 

tatertot

New Member
Feb 13, 2014
18
3
3
40
Excellent work that you have done on this train! I rather enjoyed following along with your progress just now. Do you have any plans to make anything else, or to add on to this existing work?
 

DAVESTAR

Well-Known Member
Oct 25, 2013
144
185
58
Thank you tatertot and jean-lucpicard. It is appreciated - especially since I am not a master builder like those who have done some of the models on this site - wow! The train is in the closet with the rest of the Christmas decorations - in a box of course. There is a Back To The Future train model I may do but I'm not sure. Other builds are in this same thread - I am doing another Fencer (En Guarde!) because I'm just not happy with it - should finish tonight and will add to the original post. Oh and just in case - I did not design any of the models I have made (wish I could) - just trying to be a good builder at this point. Have you guys posted anything?