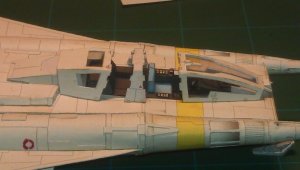
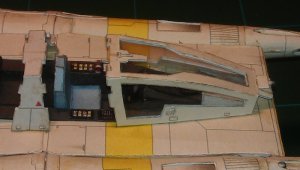
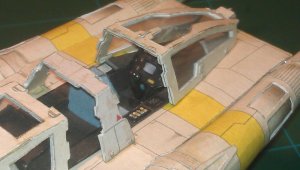
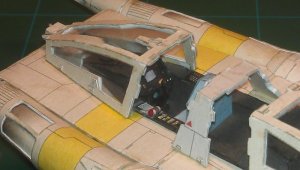
Detailed Thunder Fighter Project

Z

Zathros

Wow! It is amazing you could take a pic of those engines so close and they could look so excellent! You can't even see that kind of detail with your bare eyes!!
 

mcusanelli

Well-Known Member
Feb 26, 2008
374
121
58
RB,
Awesome job as usual - You really have a huge amount of patience (and tallent) with the small parts....by the time I've finished just getting those engines together, I'm loosing my mind! Beautiful work, sir.
 

Rhaven Blaack

!!!THE MAN BEHIND THE CURTAIN!!!
Staff member
Administrator
Moderator
Jun 12, 2009
12,515
9,886
228
Oregon
www.deviantart.com
Thank you both for the kind words of encouragement.

To be honest, I use this when I am working with such small detail parts:
magnifying_glasses_light.jpg

As for the photos, I have a very strong camera with a good zoom built into my phone that I use for such,
 

Rhaven Blaack

!!!THE MAN BEHIND THE CURTAIN!!!
Staff member
Administrator
Moderator
Jun 12, 2009
12,515
9,886
228
Oregon
www.deviantart.com
This is the underbelly and landing gear bay, just under the cockpit
DSCN5201.jpg

Close-ups of the landing gear bay.
DSCN5204.jpg

DSCN5205.jpg

DSCN5206.jpg

DSCN5208.jpg

Close-up of the landing gear bay door.
DSCN5209.jpg

Now on to the landing gear and the cockpit canopy.
 

Revell-Fan

Co-Administrator
Staff member
Administrator
Moderator
Aug 1, 2009
11,608
12,348
228
Vreden
Thank you both for the kind words of encouragement.

To be honest, I use this when I am working with such small detail parts:
View attachment 112271

As for the photos, I have a very strong camera with a good zoom built into my phone that I use for such,
Wasn't that used as a prop on "Buck Rogers in the 25th Century"? :mrgreen:

Anyway, a good start to make your own sci-fi costume! sign1

P.S.: Incredible build!!!! :thumb:
 

Rhaven Blaack

!!!THE MAN BEHIND THE CURTAIN!!!
Staff member
Administrator
Moderator
Jun 12, 2009
12,515
9,886
228
Oregon
www.deviantart.com
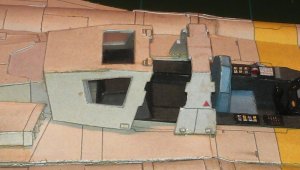
I have started on the canopy.
I raised the panel of the back canopy piece
IMAG0003.jpg

IMAG0004.jpg

As you can see, the back piece is not wide enough to clear the back part of the cockpit interior (That is OK, I have a solution for that. :twisted:)
IMAG0005.jpg

IMAG0006.jpg

IMAG0007.jpg

Here is the rear canopy hatch
IMAG0009.jpg
 

Rhaven Blaack

!!!THE MAN BEHIND THE CURTAIN!!!
Staff member
Administrator
Moderator
Jun 12, 2009
12,515
9,886
228
Oregon
www.deviantart.com
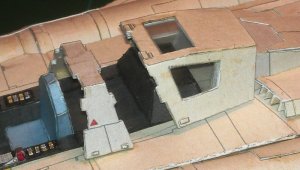
Rear canopy hatch and center canopy piece are attached.
(I decided to permanently the rear canopy hatch in the "OPEN" position to hide the mistake that I made with the rear canopy piece.)
IMAG0012.jpg

IMAG0014.jpg

Front canopy hatch and front canopy piece is attached.
(Again I decided to permanently attach the front canopy hatch in the "OPEN" position, just so it would match the rear hatch.)
IMAG0018.jpg

IMAG0019.jpg

IMAG0020.jpg

IMAG0021.jpg
 

Rhaven Blaack

!!!THE MAN BEHIND THE CURTAIN!!!
Staff member
Administrator
Moderator
Jun 12, 2009
12,515
9,886
228
Oregon
www.deviantart.com
Finished!!!

I am finished with this one.
I hope this thread inspires some of you to build (and post build threads of) your own Thunder Fighters.
IMAG0022.jpg

IMAG0023.jpg

IMAG0024.jpg

IMAG0026.jpg

I will be building more Thunder Fighters soon, but first, I have a few other projects that I have to finish first.

ENJOY!!!
 
Z

Zathros

You do such fine work. I think I am going to get a set of those glasses/headpiece you use. These models are awesome! :)
 

Rhaven Blaack

!!!THE MAN BEHIND THE CURTAIN!!!
Staff member
Administrator
Moderator
Jun 12, 2009
12,515
9,886
228
Oregon
www.deviantart.com
Thank you everyone for the kind words and encouragement. I GREATLY appreciate it.

Zathros, The glasses/headset helps quite a bit (especially when I am working with the really small parts for the fine detail).
 

mcusanelli

Well-Known Member
Feb 26, 2008
374
121
58
RB
Awesome build, I especially like the slide open canopies. I have to build another one of these! Thanks for the pics and the inspiration:)
 

Rhaven Blaack

!!!THE MAN BEHIND THE CURTAIN!!!
Staff member
Administrator
Moderator
Jun 12, 2009
12,515
9,886
228
Oregon
www.deviantart.com
Ladies and Gentlemen,

This thread is not dead! This not a NECROPOST! I have resurrected this thread to add my latest detailed build Thunder Fighter.

Revell-Fan and I have been working on a new cockpit interior. You can read more about it in this thread:
http://www.zealot.com/threads/buck-rogers-thunderfighter-mods.169684/

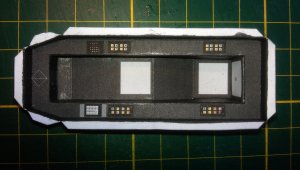
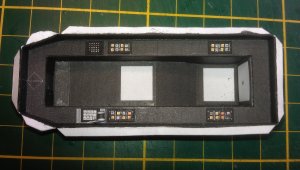
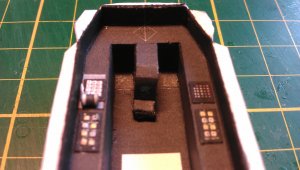
I have started with the tub itself.
IMAG4370.jpg

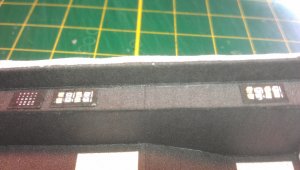
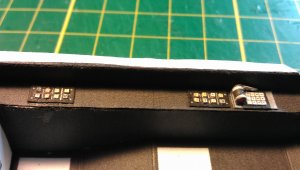
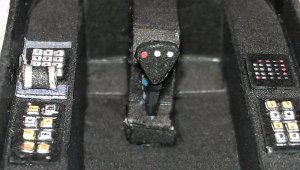
I detailed the side controls by raising the buttons.
IMAG4371.jpg IMAG4373.jpg IMAG4376.jpg

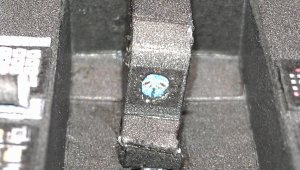
Here is the mount for the Joystick. As you can see, I recessed the artificial horizon and added the Joystick.
IMAG4379.jpg IMAG4381.jpg IMAG4382.jpg
 

Rhaven Blaack

!!!THE MAN BEHIND THE CURTAIN!!!
Staff member
Administrator
Moderator
Jun 12, 2009
12,515
9,886
228
Oregon
www.deviantart.com
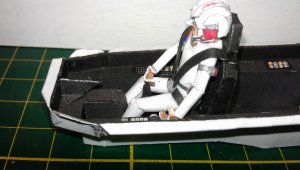
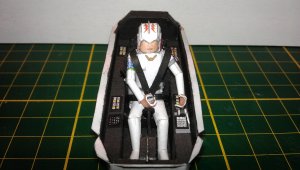
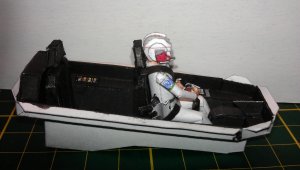
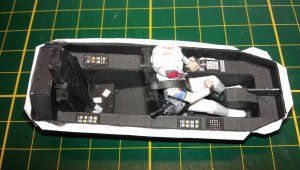
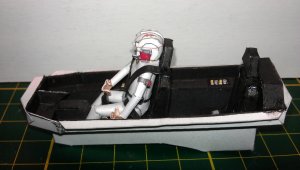
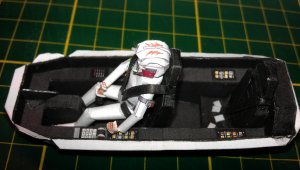
Here I added the seats to the cockpit interior.

I decided to only have the one pilot (as I have a tight deadline to get this model done).
IMAG4397.jpg IMAG4398.jpg IMAG4399.jpg IMAG4400.jpg IMAG4401.jpg IMAG4402.jpg
(Yes, I know that the joystick is a little short. I have already notified Revell-Fan about it and have requested him to lengthen it.)

Next comes the build of the actual plane.

Please stay tuned to your local Earth Directorate Broadcasting channels for further updates as they happen.
Thank you for watching.