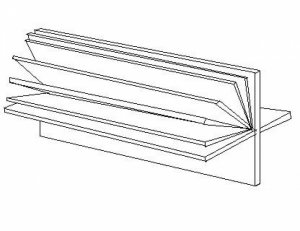
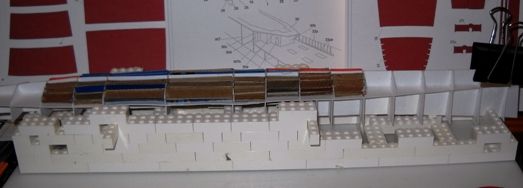
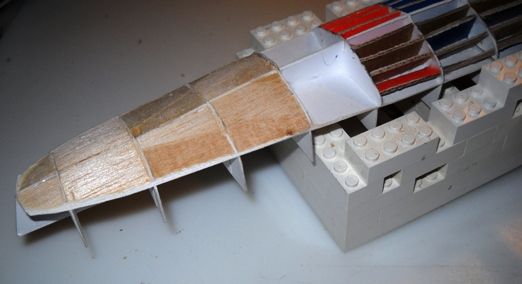
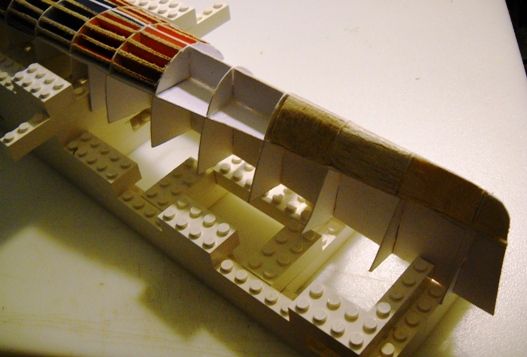
I think that I'm being dense here. But I don't think that I'm quite grasping how you are filling between the formers. Are you taking multiple wedges of balsa and gluing them in, or are you taking thin(ish) strips, say 1/8 to 1/4" and gluing them in?
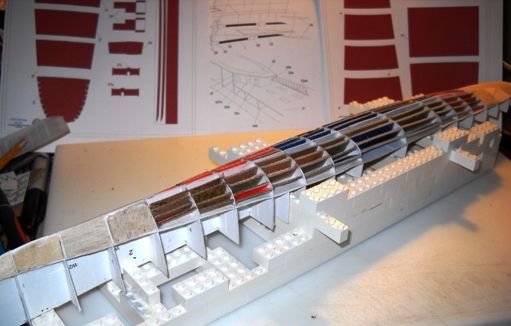
I've seen other ship builders use expanding foam (it's the DEVIL!) as well as closed cell foam and even florists foam. But they either spray it in in the case of expanding foam (Yes, it really is the devil) or they cut blocks to fill the voids.
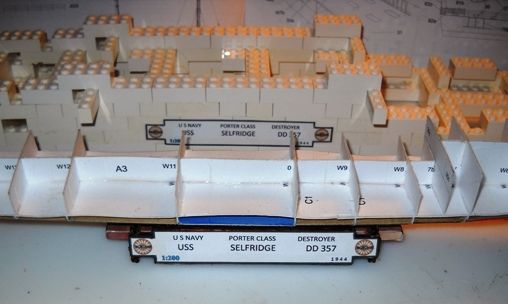
Thanks for clarifying this as it will help with both my U-boat and Campbeltown/Montgomery builds.
I've seen other ship builders use expanding foam (it's the DEVIL!) as well as closed cell foam and even florists foam. But they either spray it in in the case of expanding foam (Yes, it really is the devil) or they cut blocks to fill the voids.
Thanks for clarifying this as it will help with both my U-boat and Campbeltown/Montgomery builds.
")