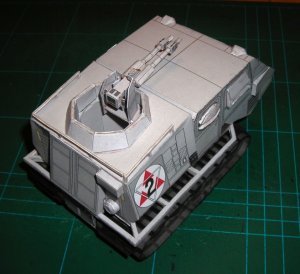
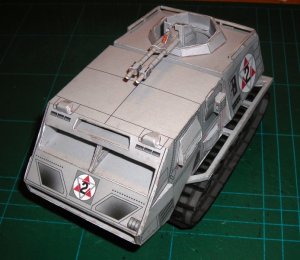
BSG LANDRAM 1:32 scale

Rhaven Blaack

!!!THE MAN BEHIND THE CURTAIN!!!
Staff member
Administrator
Moderator
Jun 12, 2009
12,487
9,847
228
Oregon
www.deviantart.com
Ladies and gentlemen, Boys and girls, and other assorted creatures (both human and non-human).
Here is my latest test build of Revell-fan's TOS BSG Landram in 1:32 scale.

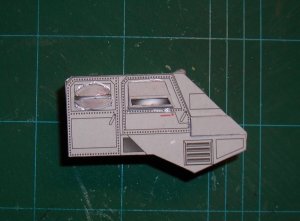
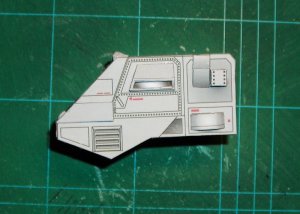
I started with the cab. At this size, some of the parts are quite fiddly, and a bit difficult to work with if you have BIG (bear paw like) hands like I do.
The parts fit very tightly. There is no room error.
With that being said, if you talk your time and do not rush through it, you will not frak-up.
Here are the photos for your viewing pleasure:

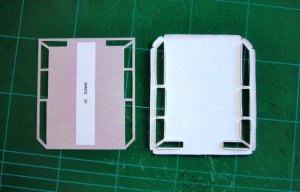
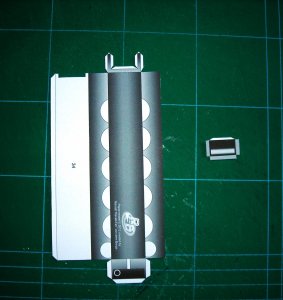
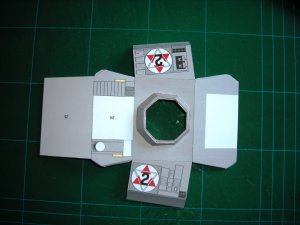
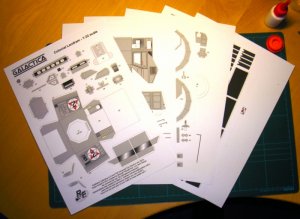
Parts sheets
DSCN4738.jpg

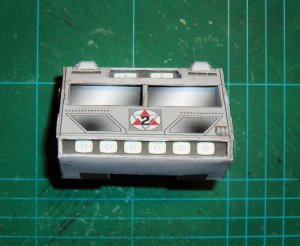
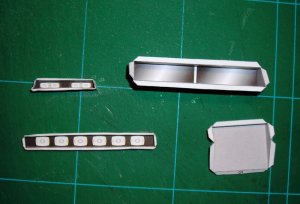
These are the main lights, main wind screen, and under section
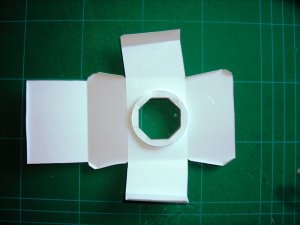
DSCN4739.jpg


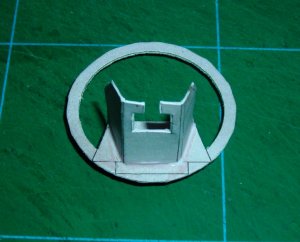
DSCN4740.jpg

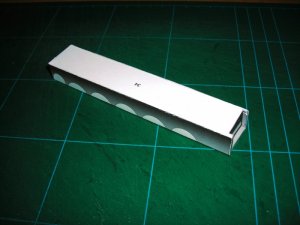
Take you time with putting these parts in place. Like I said earlier, the parts are fiddly and fit tightly. You will have to do some adjusting one the part is in place.
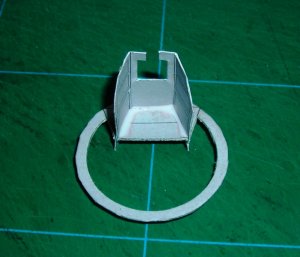
DSCN4741.jpg

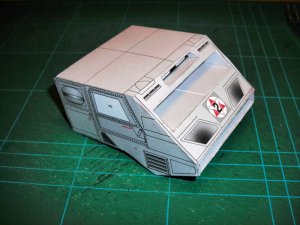
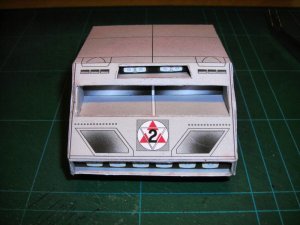
Cab is now assembled.
DSCN4742.jpg

DSCN4743.jpg

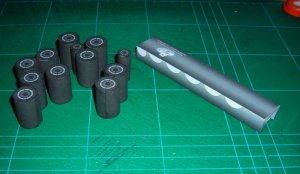
Now to add the greebles to the cab.
 
Z

Zathros

That's frakin' nice. It's good that someone picked up building one quick.
 

Rhaven Blaack

!!!THE MAN BEHIND THE CURTAIN!!!
Staff member
Administrator
Moderator
Jun 12, 2009
12,487
9,847
228
Oregon
www.deviantart.com
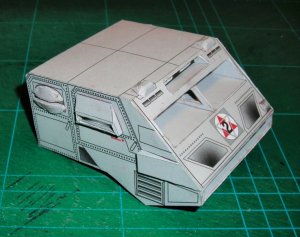
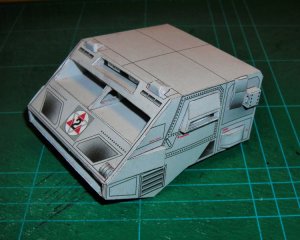
Finished cab

I have finished putting on all of the detail that comes with this kit. Again, these detailed parts are very fiddly (especially for those with BIG hands).
For those of you who like to add even more detail, there is certainly enough detail on this model as a whole that you can easily add more to it.
The only reason that I have not, is because This is a beta build. I do not like to add more then what comes with the kit the first time I build a model.

DSCN4753.jpg DSCN4754.jpg DSCN4756.jpg DSCN4757.jpg DSCN4758.jpg

ENJOY!!!
 

Rhaven Blaack

!!!THE MAN BEHIND THE CURTAIN!!!
Staff member
Administrator
Moderator
Jun 12, 2009
12,487
9,847
228
Oregon
www.deviantart.com
Flatbed

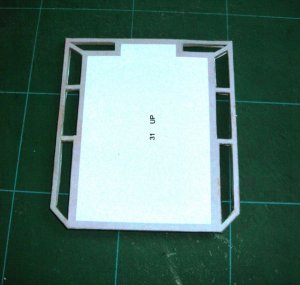
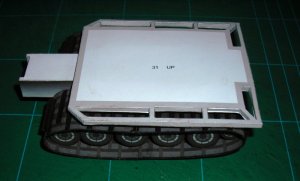
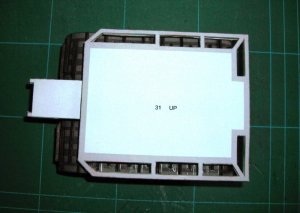
Here is the Flatbed. This is where you attach the truck/engine assembly, the cab, and the cargo/gun section.

When working with this section, it is best if you attach parts A, B, C, and D in order as listed to part 31. After everything dries, attach part 32 by starting with parts A, B, C, and D, then attach the outer edges.
DSCN4759.jpg

Flatbed is finished.
DSCN4760.jpg
 

Revell-Fan

Co-Administrator
Staff member
Administrator
Moderator
Aug 1, 2009
11,589
12,328
228
Vreden
Ladies and gentlemen, Boys and girls, and other assorted creatures (both human and non-human).
Here is my latest test build of Revell-fan's TOS BSG Landram in 1:32 scale.

I started with the cab. At this size, some of the parts are quite fiddly, and a bit difficult to work with if you have BIG (bear paw like) hands like I do.
The parts fit very tightly. There is no room error.
With that being said, if you talk your time and do not rush through it, you will not frak-up.
Here are the photos for your viewing pleasure:

Parts sheets
View attachment 104095

These are the main lights, main wind screen, and under section
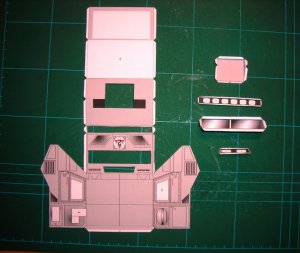
View attachment 104096


View attachment 104097

Take you time with putting these parts in place. Like I said earlier, the parts are fiddly and fit tightly. You will have to do some adjusting one the part is in place.
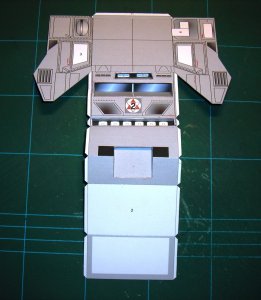
View attachment 104098

Cab is now assembled.
View attachment 104099

View attachment 104100

Now to add the greebles to the cab.
That's why I suggested to build one of the bigger scale versions! :mrgreen:

However, your build looks absolutely fantastic. At first glance you really don't see that yours is 25 % smaller than mine. Carry on, pal! :thumb:
 

Rhaven Blaack

!!!THE MAN BEHIND THE CURTAIN!!!
Staff member
Administrator
Moderator
Jun 12, 2009
12,487
9,847
228
Oregon
www.deviantart.com
More photos

Here is the engine and wheel assembly.
There were no problems with anything.
Everything is very straight forward.

DSCN4761.jpg

DSCN4762.jpg

DSCN4763.jpg

DSCN4764.jpg

DSCN4765.jpg

DSCN4771.jpg

ENJOY!!!
 

Rhaven Blaack

!!!THE MAN BEHIND THE CURTAIN!!!
Staff member
Administrator
Moderator
Jun 12, 2009
12,487
9,847
228
Oregon
www.deviantart.com
Update

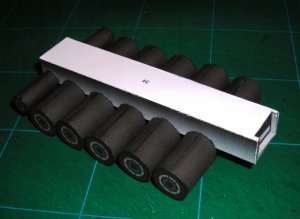
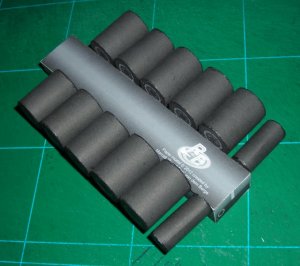
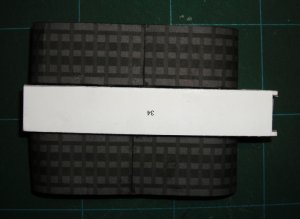
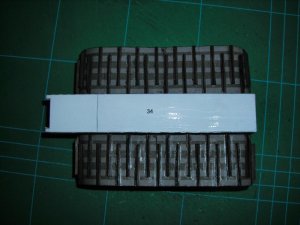
Here I applied the tank treads. This is a very laborious, tedious, and mind numbing task. There are 80 treads that you have to shape and apply on the tank track.
DSCN4772.jpg

Here I have added the flatbed/ground plate.
DSCN4773.jpg

DSCN4774.jpg

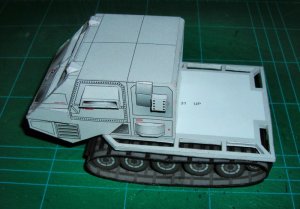
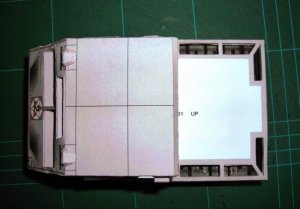
The cab is now mounted.
DSCN4775.jpg

DSCN4776.jpg

ENJOY!!!

Next will be the gunner station.
 

clif52

Banned
Oct 23, 2004
129
4
16
Martinsville, Virginia USA
Very, very COOOL! OK! I'm going to have to say the same thing I said about the Turbo bike model. I've got to scale this thing up and buy the 12 inch tall original series Galactica action figures I've drooling over. I guess I'll also have to scale one of the vipers up too. My art studio is going to run over into the rest of the basement.

Clif
 

Rhaven Blaack

!!!THE MAN BEHIND THE CURTAIN!!!
Staff member
Administrator
Moderator
Jun 12, 2009
12,487
9,847
228
Oregon
www.deviantart.com
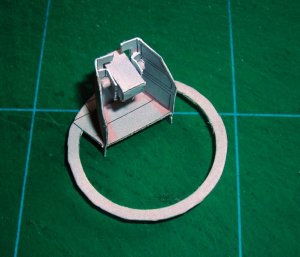
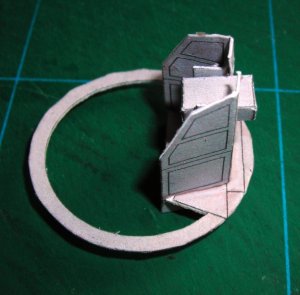
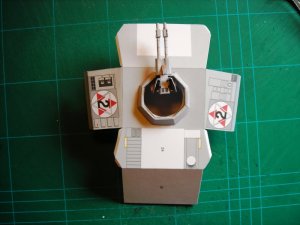
Gunners station and turret

Here is the gunners station and turret.
Other then the size of the parts, I really did not have any problems (although, I did buile the tramram cap just in case I was unable to finish the turret).
The only other advise that I can give is, TAKE YOUR TIME!!! There is no need to rush through it.
At this scale, it is very easy to rip a part or just frak up the whole thing.

DSCN4777.jpg

DSCN4778.jpg

DSCN4779.jpg

DSCN4780.jpg

DSCN4781.jpg

DSCN4782.jpg
 

Rhaven Blaack

!!!THE MAN BEHIND THE CURTAIN!!!
Staff member
Administrator
Moderator
Jun 12, 2009
12,487
9,847
228
Oregon
www.deviantart.com
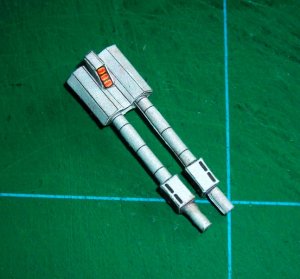
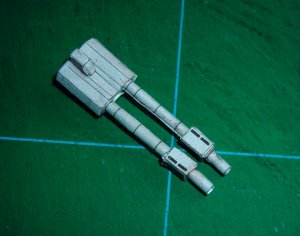
Here is the actual turret and gun assembly.
All of these parts are very fiddly.
The best way to roll the gun barrels, is to fist shape them by rolling them around a toothpick, then roll them around a long hat pin, after that, use a bambo scewer to get it back in the size you want then glue closed.
Make sure you have scored everything before you cut anythng out. Ohterwise, you could (very easily) rip or destroy the part that you are working on.

DSCN4783.jpg

DSCN4784.jpg

DSCN4785.jpg
 

Rhaven Blaack

!!!THE MAN BEHIND THE CURTAIN!!!
Staff member
Administrator
Moderator
Jun 12, 2009
12,487
9,847
228
Oregon
www.deviantart.com
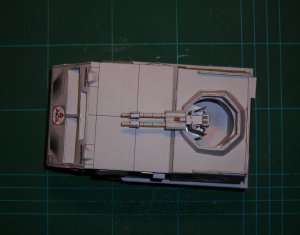
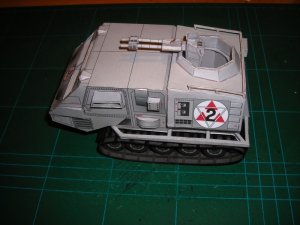
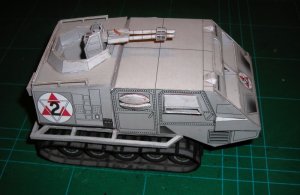
Finished landram

Here is the finished Landram.

For those of you who want the measurements for this model (at 1:32 scale), Length : 14cm (5in.), Width: 8.5cm (3.5in), Height: 8.5cm (3.5in)
So, it is in fact quite small.

DSCN4786.jpg

DSCN4787.jpg

DSCN4788.jpg

DSCN4789.jpg

DSCN4790.jpg

I have sent everything to Revell-fan. After he reviews what I have done, he will release it.

I look forward to seeing how you make yours.

ENJOY!!!