More progress
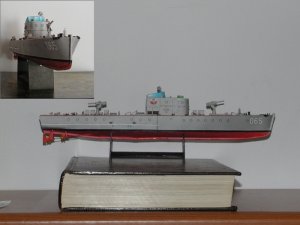
You're welcome. I hadn't bothered to find out anything about these ships yet, so I finally took a few minutes and did so. A quick search turned up a couple references like this (http://warsailors.com/forum/read.php?1,2793) which indicates that a number were used (and lost) in the Baltic Sea, and this site, which refers to several MO ships used in the Black Sea fleet as you say. So far I've found no reference to the MO-65, although the latter site references MO-66. The model pattern indicates this is one of the MO-4 variants.
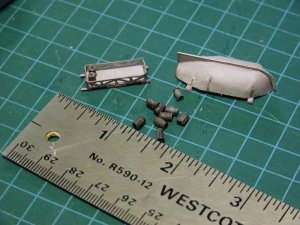
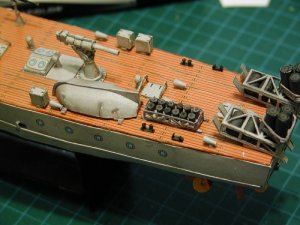
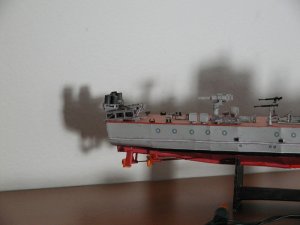
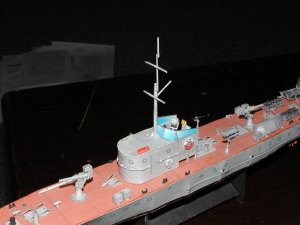
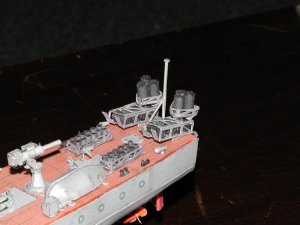
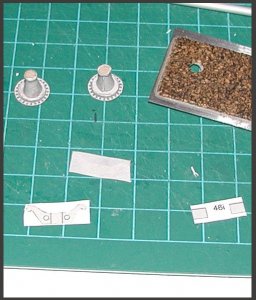
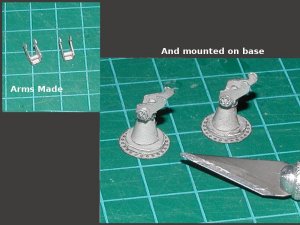
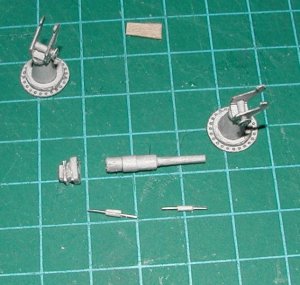
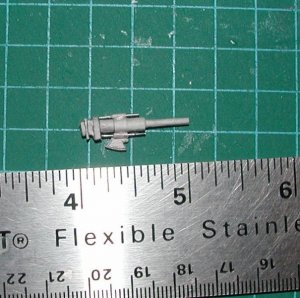
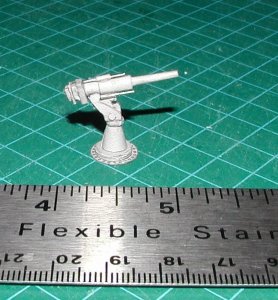
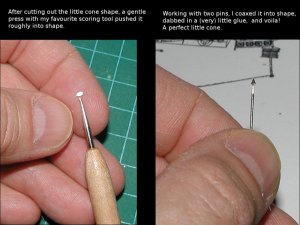
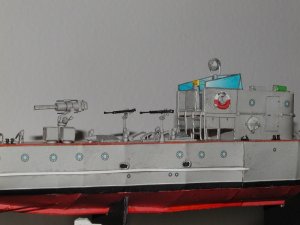
Anyway, I've made some progress. It amazes me how many little tiny parts are in this model. The pictures below show the progression of one of the larger gun mounts, and the beginning of the gun itself.
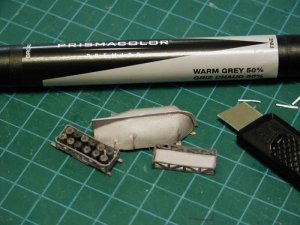
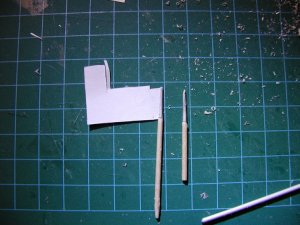
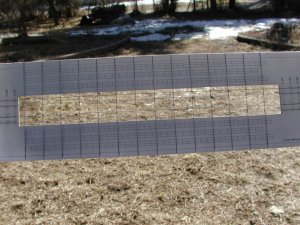
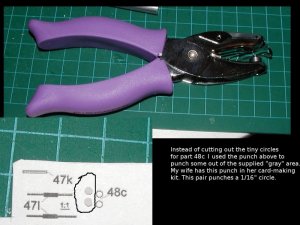
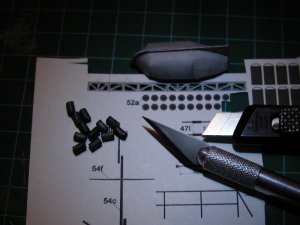
As I've noted on the first image, the designer though to provide a large chunk of "spare" gray that can be used to trim pieces, add a back to pieces, etc. This has come in quite handy on a number of occasions. I used it here to add color to the back of parts 46h (second picture).
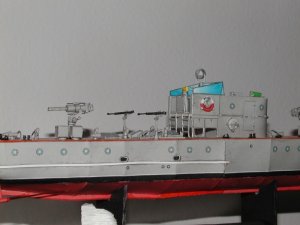
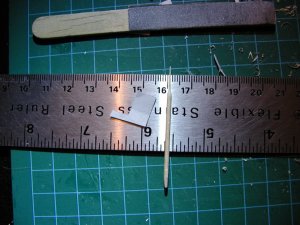
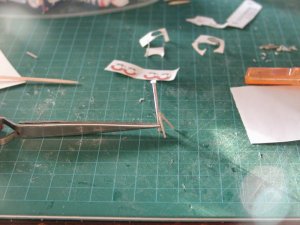
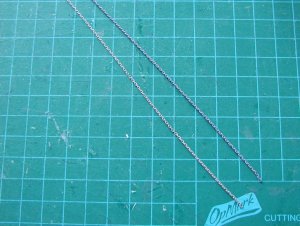
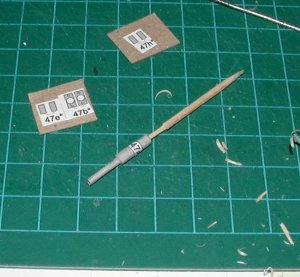
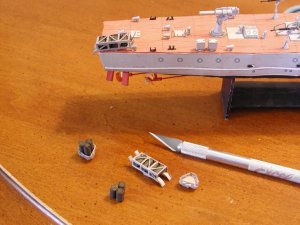
The fourth picture shows the gun barrel rolled. Since this piece is on regular paper it's not real strong, so I trimmed and sanded a round toothpick to fit inside the tube to reinforce it.
More in next post....
SJ
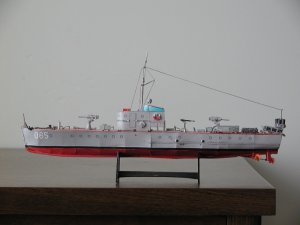
I've always wondered what that boat looked like built-up. Thanks for sharing.
BTW weren't the MOs sort of gunboats on the Black Sea harassing the German supply routes?
David
You're welcome. I hadn't bothered to find out anything about these ships yet, so I finally took a few minutes and did so. A quick search turned up a couple references like this (http://warsailors.com/forum/read.php?1,2793) which indicates that a number were used (and lost) in the Baltic Sea, and this site, which refers to several MO ships used in the Black Sea fleet as you say. So far I've found no reference to the MO-65, although the latter site references MO-66. The model pattern indicates this is one of the MO-4 variants.
Anyway, I've made some progress. It amazes me how many little tiny parts are in this model. The pictures below show the progression of one of the larger gun mounts, and the beginning of the gun itself.
As I've noted on the first image, the designer though to provide a large chunk of "spare" gray that can be used to trim pieces, add a back to pieces, etc. This has come in quite handy on a number of occasions. I used it here to add color to the back of parts 46h (second picture).
The fourth picture shows the gun barrel rolled. Since this piece is on regular paper it's not real strong, so I trimmed and sanded a round toothpick to fit inside the tube to reinforce it.
More in next post....


")