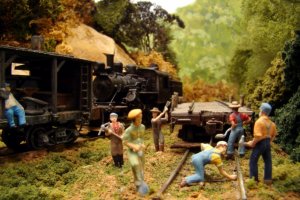
I just noticed that you can tell that is a vintage log truck, as it has no head ache rack,
Bill Nelson
Bill Nelson
Thanks Zealot for posting my Maple Valley Logging & Millwork project on the Home page. This project is & will continue to be one of the largest projects I have scratchbuilt. I have much more to share as time allows. We have much talent on this Forum & I have enjoyed it intensely. Thanks to everyone for their comments & those that have viewed. Once again I encourage everyone to share what they know about our great hobby no matter what skill level you are on. We all started from somewhere & none from the top, so don't be shy & continue to offer to the Forum. Thank You.
Feet...??? :mrgreen:

Jim,
The log truck looks really good and I like what you did to make the tire look as if it's been in the mud all day. What did you use to make the muddy look?
Dave
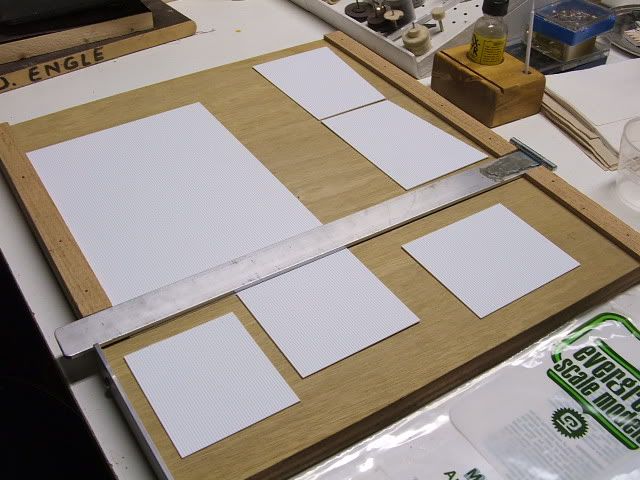
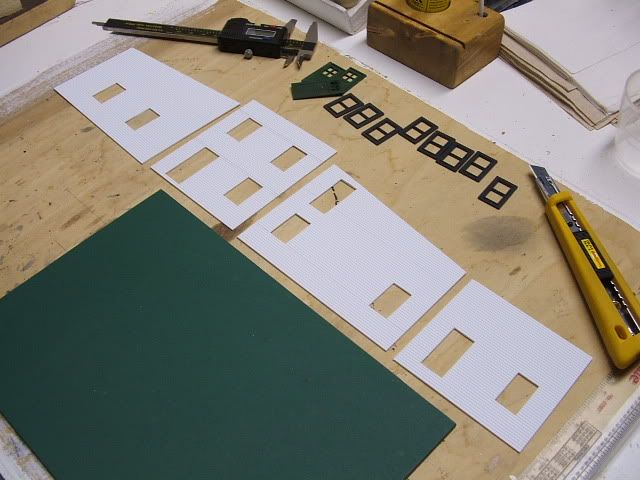
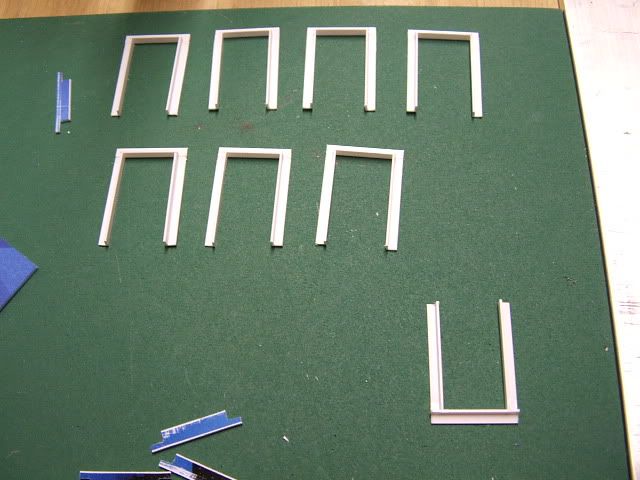
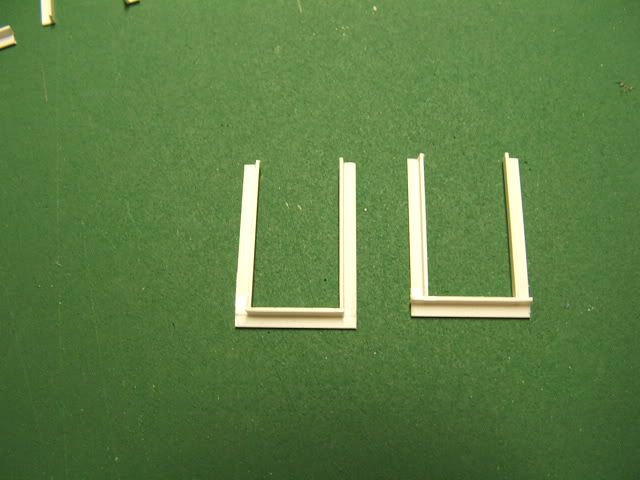
Hey Bill Thanks for your interest. I have been working a lot lately & my son had surgery on his knee recently. This year has brought a lot of small jobs instead of what I am use to being much longer jobs. I have been working on a 2 story office/apartment building for the mill in styrene. It's been kind of nice glueing plastic for a while instead of wood. I did layout some 2" & 1/2" foam to start placing some of the buildings. I am going to start with the main building with the pond area to get the elevations just right. Have you or the Doc ever seen a small turn around in a Saw Mill yard ? I thought that might be nice if my space allows. When I placed the buildings & sketched out the pond I thought what have I got myself into, this thing is huge! I will post some pics when I get farther along on the Office building.
Hey Doc Tom & Bill thanks for the ideas. Even though I like the wye idea this thing is getting huge. I'm thinking about a hand operated turn table just to get the engine out of the yard after the drop offs & back in front of the emptys. I've got a Coal Mine project going on as well & I have been going back & forth.I'll keep posting the progress as it developes.