

Sorry I haven't updated lately. I'm trying to clear a few projects off my workbench before I complete the mill.
JV models sawmill construction
- Thread starter Glen Haasdyk
- Start date
You are using an out of date browser. It may not display this or other websites correctly.
You should upgrade or use an alternative browser.
You should upgrade or use an alternative browser.
Sorry I haven't updated lately. I'm trying to clear a few projects off my workbench before I complete the mill.
arent we all :mrgreen:! i myself cant start a project and stop,i cant tell if its a good thing or a bad one...
 .cant wait to see it finally all come together :thumb:--josh
Opps I was rearanging my photo bucket accout when I realized I lost all the links to the sawmill machinery:
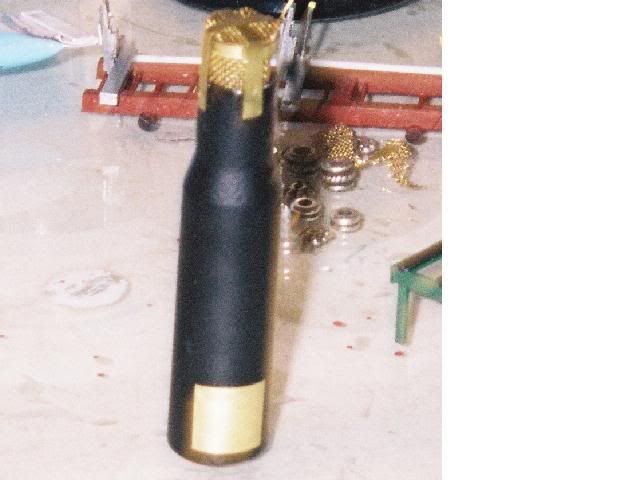
On a side note I figure I'm going to be back working on the sawmill in the next couple weeks. My first project there is to finish the last piece of machinery, the steam boiler.
On a side note I figure I'm going to be back working on the sawmill in the next couple weeks. My first project there is to finish the last piece of machinery, the steam boiler.
Okay everyone. I'm going to finish up my scratchbuilt piledriver project (it's been sitting in a box for the past 3 years) and then finish up the sawmill project. I have 2 weeks off this Christmas so I don't really have any excuses
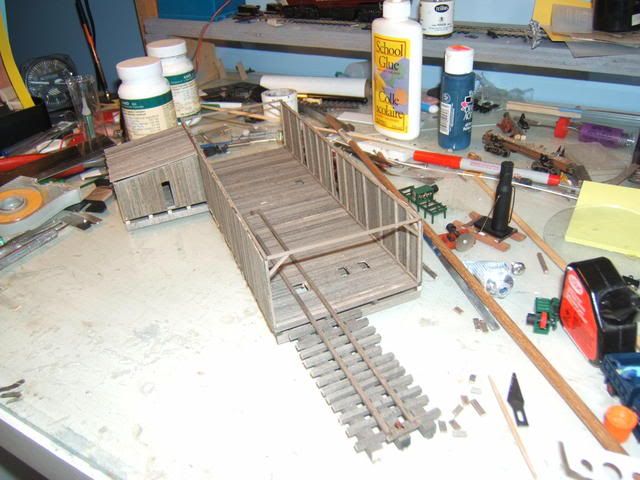
Starting with the interior machinery placement. I have to cut holes in the floor to simulate the under-floor drive belt system as well as the main drive drum of the carriage.
Starting with the interior machinery placement. I have to cut holes in the floor to simulate the under-floor drive belt system as well as the main drive drum of the carriage.
I finished my Pile driver (see scratching and bashing: Scratchbuilt Pile driver) Yesterday and today I started to finish the sawmill. I cut the holes in the floor for the drive belt system as well as the cable drum for the carrige cable:
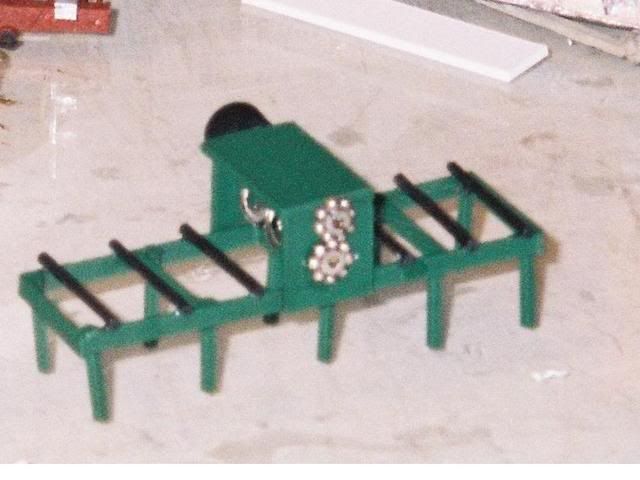
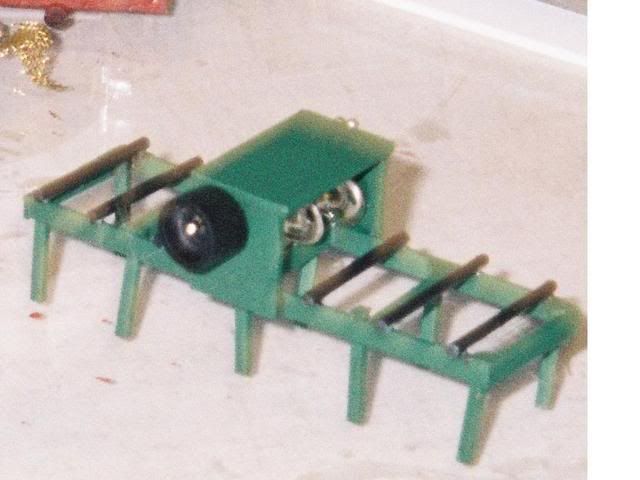
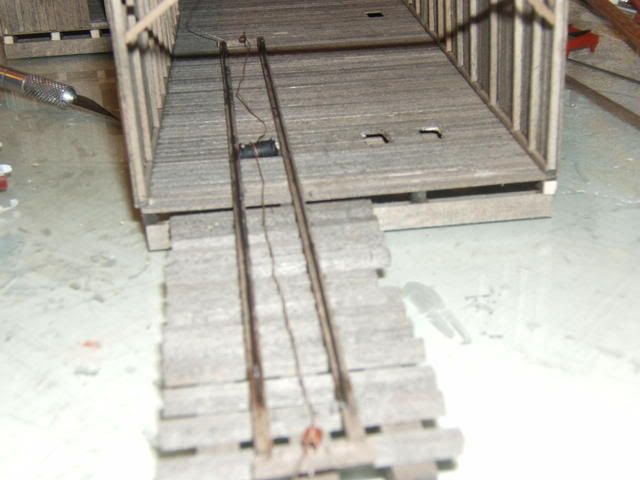
After that I built the cable drum out of a piece of dowel and two disks. I wraped so Model ship rigging thread (looks like weathered cable) around the drum a couple times and then glued the drum in the hole between the two tracks. on each end of the track I added a pulley from a model ship and treaded the cable through each. The each end will atach to the log carrige. The last thing I did was add a piece of steel rod (very small) to represent the rails for the carrige tracks:
I sould have the interior equipment installed tomorrow if all goes well. I got a digital camera this Christmas so Pictures can be posted as soon as I take them now (finally!)
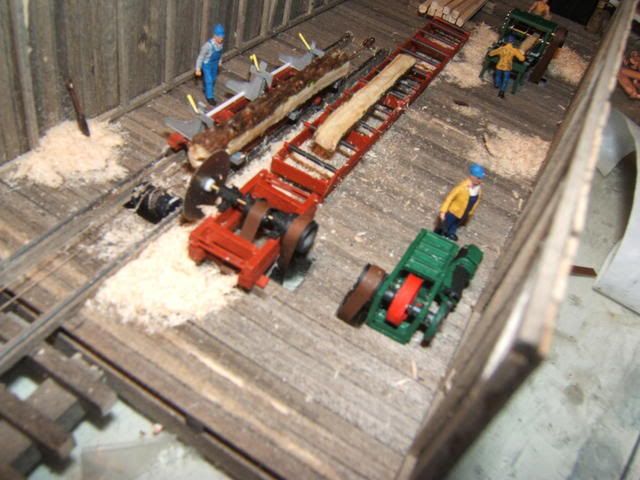
I added the machinery to the interior:
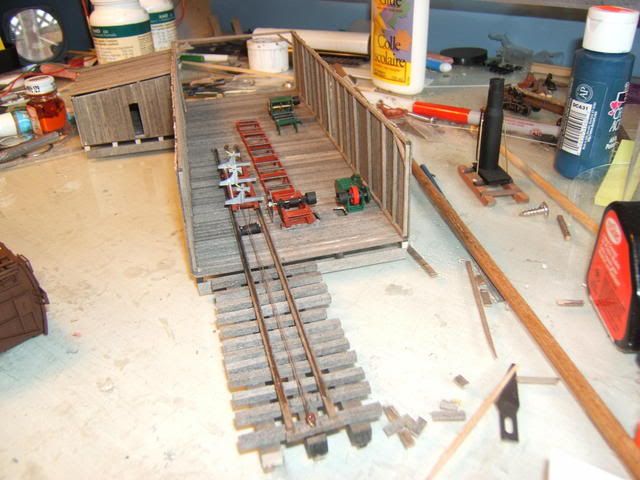
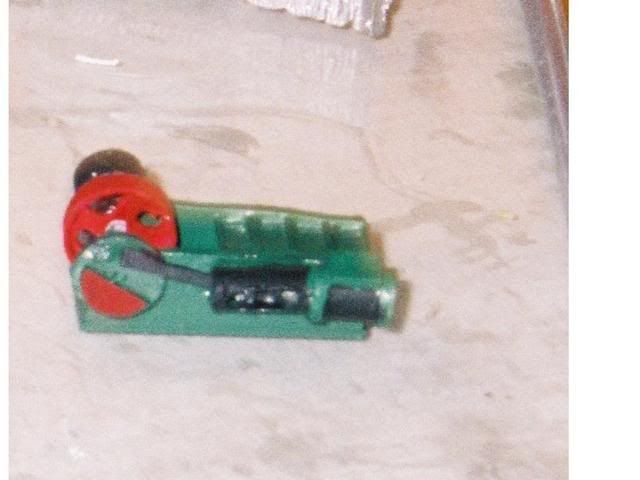
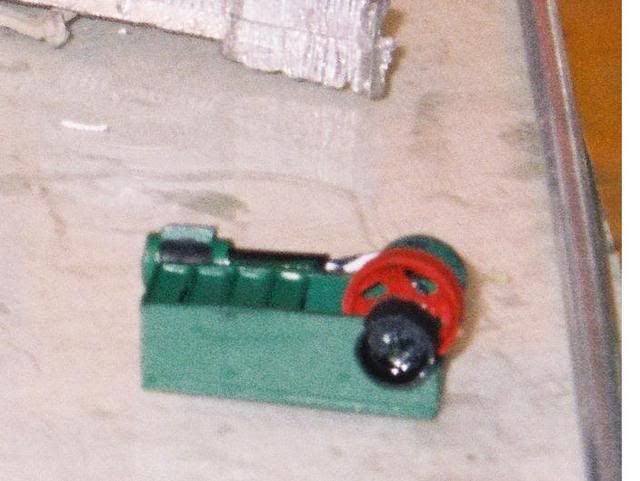
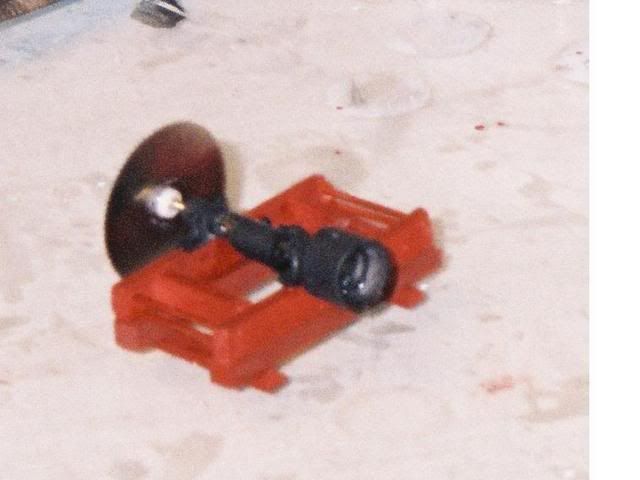
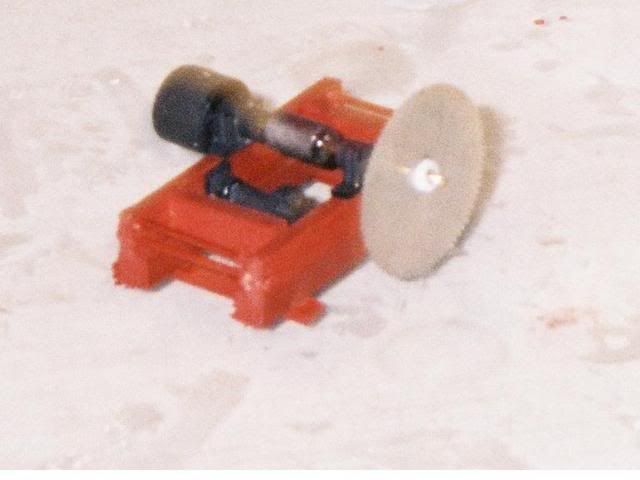
I first installed the log carrige, glueing it down to the rails and attaching the drive cable to each end. Then the Saw was added. Turns out the saw was a little short so I added a couple risers to the frame. The rolls, steam engine and edger were next, lining them all up with the holes I had cut it the floor for the belts.
The next thing is to add sawdust and other junk in the mill since half a roof will be going on and that will amke it too difficult to add interior detailing then.
Hi Glen....Coming along nicely.....Why not use a removable roof..? I did that for my engine house since it too will eventually have a "detailed" interior. You'll also have a way to show off the great work you did on that machinery...!!!
Only one half of the roof will be finished, The other side will be open except for framework. I was going to have a removeable roof but the framework warped slightly in the jig so I need to glue it down to make it straight.
This is probably the best of all! If a visitor is interested enough to see the detail through a window, you can show it, by removing the roof. If they don't see the detail through a window, or open door, they probably aren't interested enough to bother with showing the extra work.Why not use a removable roof..?
I have a bait and tackle shop on one of my modules, that most people never even see. It's only three feet away, but cleverly hidden behind some trees. Visible to the interested, but not to the casual viewer.....and the shelves are stocked with all kinds of fishing and hunting needs. I know it's there even if most who see the module don't.
People who aren't aware of what detail "should" be there, aren't usually impressed by the fact that it is there. Those who will be impressed, have already looked, and seen, and have been impressed.
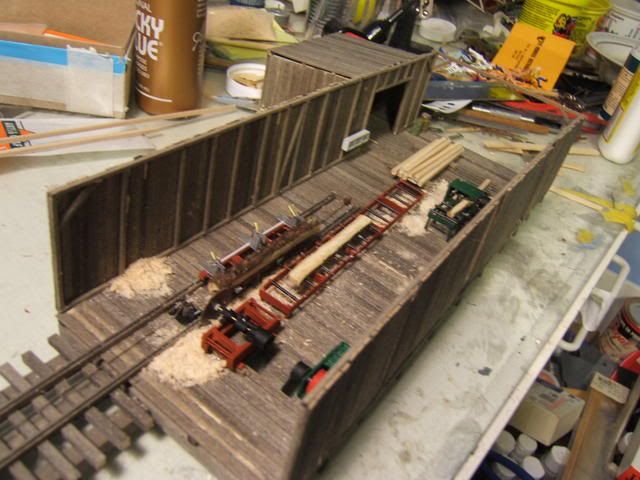
I've been added the interior details such as cut wood, logs and lumber on the saws, and some tools. This afternoon I added the sawdust, tacking down the piles with diluted white glue, then lightly sprinklying more around the machinery, using dulcote to hold it down.
Another project is the workmen. I've been hand painting the work crew that wil occupy the building.
Another project is the workmen. I've been hand painting the work crew that wil occupy the building.
Okay I think the end is in sight for this project. I added sawdust, cut logs, and finished lumber to the interior. I also added a few details like crates, garbage barrels and the like.
Next will be figures. I have about half a dozen that are almost painted (I like to buy the Prieser unpainted sets and do it myself) Then a bit more detail like tools and then the drive belts.
I was stuck trying to figure what to make the drive belts out of when I thought, why not make those out of styrene as well. I have soem HO scale 1X10 material st I think I'll form the bends (for the pulleys) and then drape them over the pulleys on the equipment. After that, the roof..
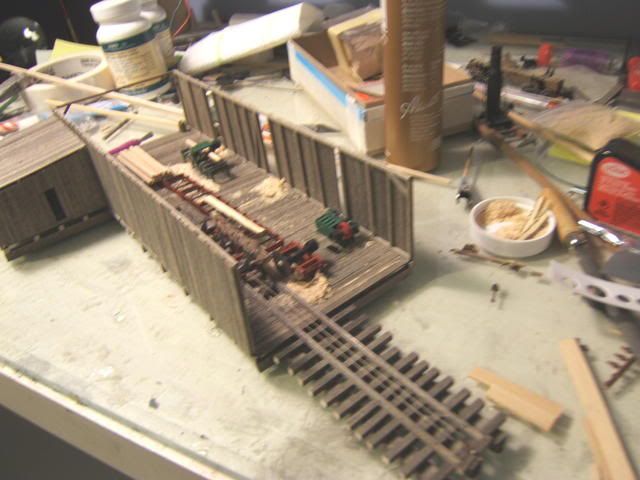
Okay I'm pretty much finished with the interior. I built the belts:
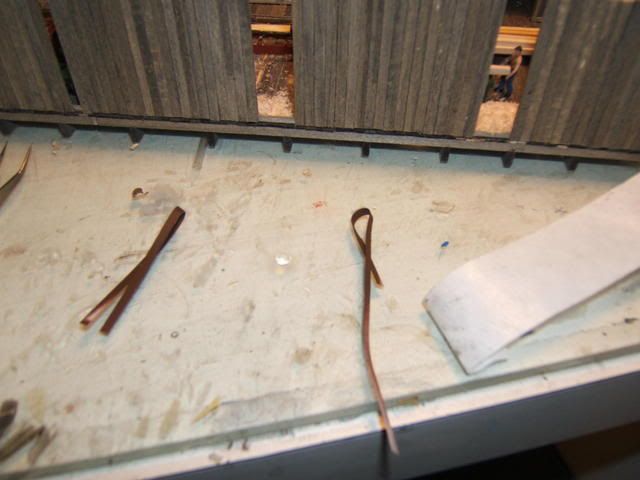
They are made from evergreen HO scale 1X8 that makes it thin enough to pass as belt material. I bent them around a piece of aluminum tubing (same diameter as the pulleys) and dipped them in boiling water. Then I trimmed the ends to fit their individual placement, painted them brown and glued them in place.
I also added the workman figures, the last thin before I add the roof:
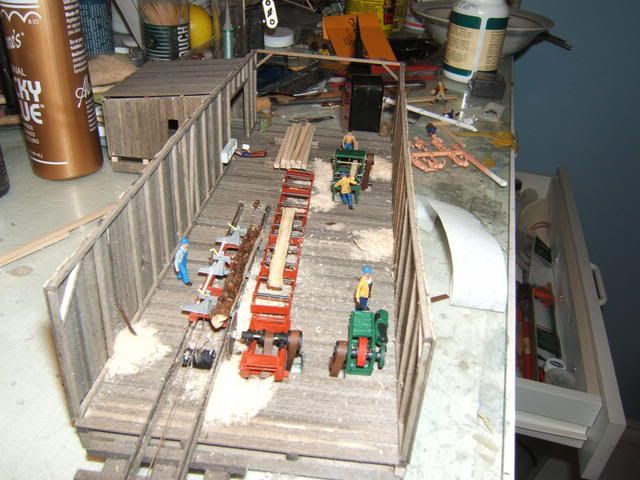
I noticed one fell down but I'm planning on placing him outside anyway.
Tomorrow I'll sart with the roof. I saw another modelers removable roof and I might try to duplicate it.
They are made from evergreen HO scale 1X8 that makes it thin enough to pass as belt material. I bent them around a piece of aluminum tubing (same diameter as the pulleys) and dipped them in boiling water. Then I trimmed the ends to fit their individual placement, painted them brown and glued them in place.
I also added the workman figures, the last thin before I add the roof:
I noticed one fell down but I'm planning on placing him outside anyway.
Tomorrow I'll sart with the roof. I saw another modelers removable roof and I might try to duplicate it.
Hi Glen...That is great work...!!! The belts really add a nice touch. The whole scene is just great...Love the logs too..!!
Did he fall down...or is he just sleeping on the job..??
Look forward to seeing your roof..
Did he fall down...or is he just sleeping on the job..??
Look forward to seeing your roof..
Finally, the roof!
I wasn't able to make the roof removable. I tried but the only way I could get the roof to sit properly on the walls was to glue it. On the other hand I had always planned to leave one half of the roof off so you could see inside:
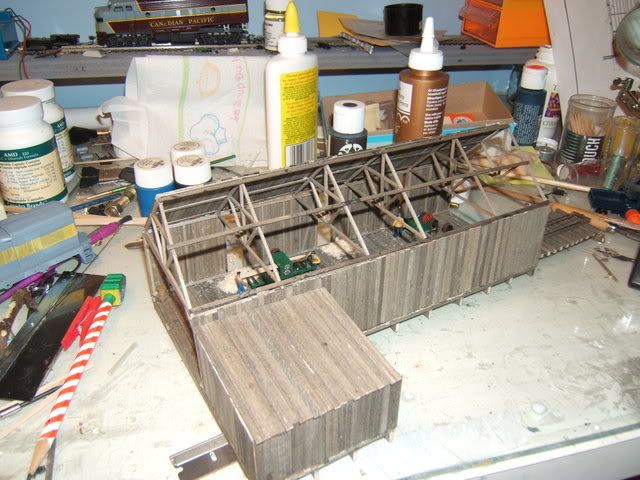
The only problem is that the roofing material that I had ran out after I used all the full length peices and then I had to finish with leftover half-pieces. the eves will be trimmed when the glue dries. I plan to make it look like the company is covering the roof with tar-paper so as to cover the part of the roof that has the remenants.
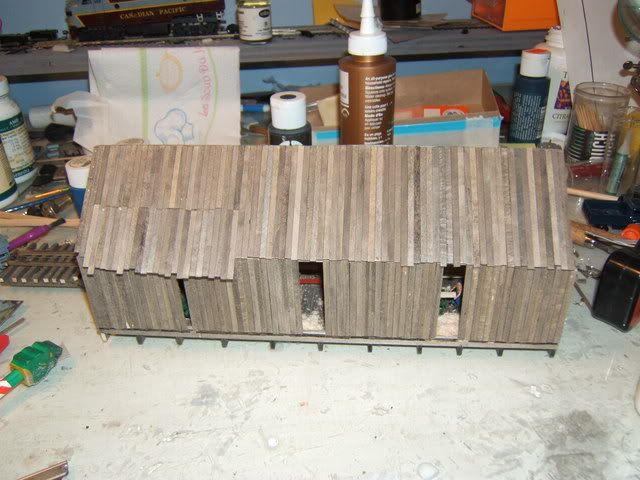
Does anyone know a good way to simulate tar paper?
I wasn't able to make the roof removable. I tried but the only way I could get the roof to sit properly on the walls was to glue it. On the other hand I had always planned to leave one half of the roof off so you could see inside:
The only problem is that the roofing material that I had ran out after I used all the full length peices and then I had to finish with leftover half-pieces. the eves will be trimmed when the glue dries. I plan to make it look like the company is covering the roof with tar-paper so as to cover the part of the roof that has the remenants.
Does anyone know a good way to simulate tar paper?
I use black tissue paper cut in strips. I then just glue it down with thinned out carpenters glue. I leave it a bit wrinkled to look like it is old and weatherbeaten. Paint it with flat black paint and then go over the joints with gloss black in some places to look like it has been patched with tar.
I'm trying to make the tar paper look new so it wouldn't be wrinkled. I'd leave the ends rolled to make it look like it's being rolled on and I'm only covering the half and half sections