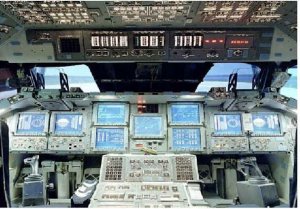
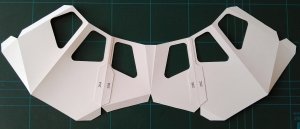
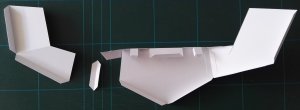
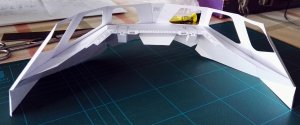
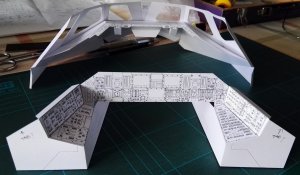
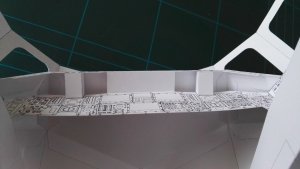
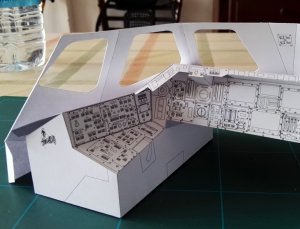
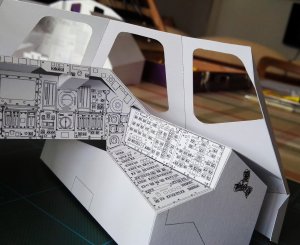
1:16 Space Shuttle flight deck

Tonino

Well-Known Member
Apr 15, 2004
791
1,775
83
61
Republic of San Marino
www.facebook.com
Hi all.
I want to share with you my new idea. It's a very complex and ambitious project and, most likely, will keep my attention for a long time, but now that I have started thinkin on it I cannot place my hands on any other model...

So, where it all started?
As I told you in a previous post I saw in a blog a photo depicting a shuttle cockpit paper model very detailed. Asked here and, thanks to @Nando, I found the original model files posted in Yahoo group Paper Space Models.

The cockpit, very nice and fully detailed, was designed by Thorsten Brand, a german cardmodeller, it's 1:48 scale and is part of a full Space Shuttle model that is going to be, I think, the best paper shuttle all around when completed. Unfortunately the project is in a Stand-By state at the moment.
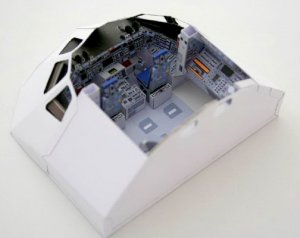
Thorst.JPG

My idea is to start from this model section upscaling it as much as possible (considering I can print only on A4 paper) and realize a stand-alone display model of the whole Space Shuttle front-upper section with all the detail I can put in it.
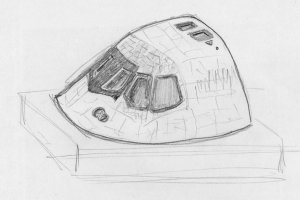
schizzo.jpg
This is a sketch, just to give you an idea.

Obviously this will require a full redrawing of all the internal panels and cockpit details (chairs, joysticks, pedals... ). I'm thinking about something similar to Ken West's creations (you recalled him to me @Revell-Fan but @Nando did it before!) with all the levers and switches realized one by one... but perhaps I'm going too far away with my fantasy.... let's see what happens during the work... before dreaming!

I asked Thorst if I can use his templates as a starting base, something like a blank canvas I can paint to. He was very, very kind and wished me all the best with my project. So now I have my starting point to work on.

The first thing was to extract from pdf's all the vectorial information to paste them in Corel Draw and start rescaling and repositioning work. After some tries I concluded I was able, dividing the biggest pieces in 2 or 3 sub-components, to reach the huge 300% upscaling factor so my cockpit will be eventually 1:16 scale!!!! :D

The 2 pages from Thorst's original project now have reached the number of 20 (and I'm only at the beginning!!!).
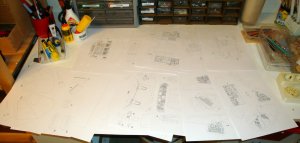
DSC07754.JPG

Now I'm going to realize a test build with only the basic shapes (no textures) to verify the fitting after my rescaling work, and to figure out what is the best paper thickness to use to reach the right compromise between fine detailing and strenght (this is going to be a BIG model).
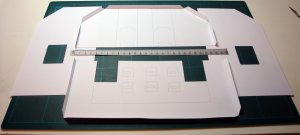
DSC07755.JPG
As you can see my flight deck will be about 26 cm. wide!
The floor is one of the BIG pieces I was forced to divide in sub-components. I added a second layer divided in longitudinal direction so I won't need tabs to join the halves and, in the same time, I'll strenghten the base of the cabin.
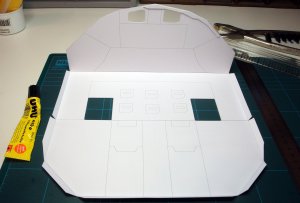
DSC07756.JPG
This is the full base, dimensions are pretty impressive...
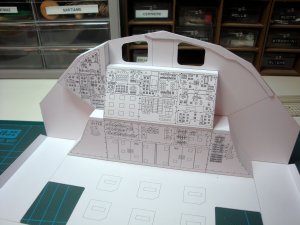
DSC07757.JPG And here are the first aft panels. Thorst made really a good work as the fitting is perfect.

I'm starting to enjoy a lot this project! :)
 
Last edited by a moderator:
ennder

Well-Known Member
Jul 26, 2008
458
1,110
83
SWEET you're off to a good start. I wondered what happened with Thorsten Brand's project. last I remember he was detailing the connections to the main tank and having trouble finding the blueprints for the connection bays.
 
  • Like
Reactions: zathros and Tonino

Tonino

Well-Known Member
Apr 15, 2004
791
1,775
83
61
Republic of San Marino
www.facebook.com
Sorry RF: I didn't think of it!
My only thought was: "How BIG can I do it?"

@ennder: I know he was pretty forward with his design work but he found some discrepancies in rear fuselage dimensions so he was forced to go some steps back to redraw part of the work already done. This is -I think - the reason for his project is in pause now. However he said he is thinking about placing hands on it again... let's hope he'll actually do: it was going to be a real wonder...
 

Tonino

Well-Known Member
Apr 15, 2004
791
1,775
83
61
Republic of San Marino
www.facebook.com
Thanks my friends, I'm glad to have your attention, but prepare to be patient... I'm afraid this will be a loooong trip! And so little time for hobbies... sigh!

Well, here's my today update on the test build.

DSC07759.JPG
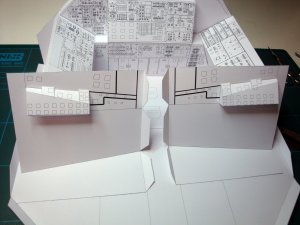
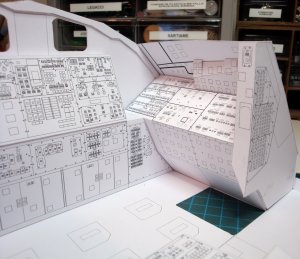
The aft side walls with those strange structures simulating part of the many recesses and ledges of the wall. With colors on them they will be somewhat better I think.
DSC07764.JPG
DSC07765.JPG
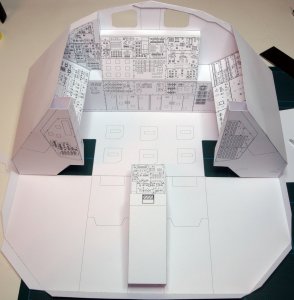
The walls and aft side consolles are in place. The fitting is always perfect so far.

DSC07771.JPG
DSC07772.JPG
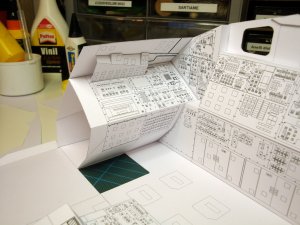
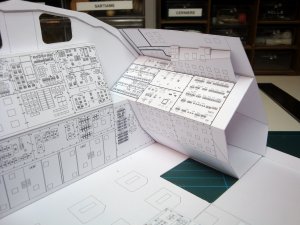
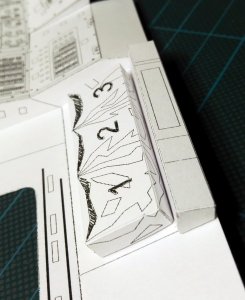
Those two elements, as you can see, was the first difficult piece to put on. The shape is pretty complex and perhaps the part can be unfolded in a different way. I should think a bit about this.
The weakest part is the join with the side consolles, especially in the lower section (see next photos)
DSC07773.JPG DSC07774.JPG
On the right - especially - I made the worst join. I 'm sure it's my fault and not a design issue, but the next time, with the real thing... I should study something different for that spot.

And now a little experiment...

I'm sure that many of you know the Apollo Command module model by Ken West... with all those tiny switches...
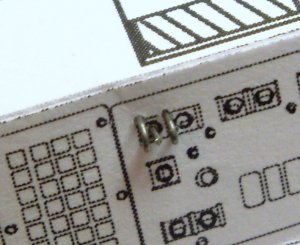
I was thinking about something of that stuff for my Shuttle so I made a little try:
DSC07767.JPG DSC07770.JPG
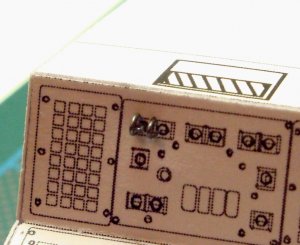
I used a 0,3 mm wide metal wire to make two little loops and a micro-switch in the center. It was a hell of a work... I don't know if I'll have the force (Jedi style) to repeat this thing for the hundreds of times needed to cover all the panels... For the moment I'll just meditate on it... waiting inspiration...

DSC07775.JPG
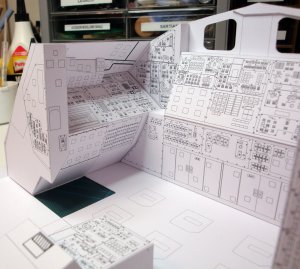
It's all for this session, this is the actual status of my test build.

See you soon!
 
Last edited:

Rhaven Blaack

!!!THE MAN BEHIND THE CURTAIN!!!
Staff member
Administrator
Moderator
Jun 12, 2009
12,492
9,853
228
Oregon
www.deviantart.com
@Tonino I think that you are off to a really good start. I think that you can really greeble this out. I can see how this can be used as a teaching aid in schools.
I am looking forward to seeing how it will turn out.
 
  • Like
Reactions: zathros

Tonino

Well-Known Member
Apr 15, 2004
791
1,775
83
61
Republic of San Marino
www.facebook.com
I'm still considering which mission to choose for my cockpit.
I think I'll decide for the STS134, with the Endeavour. That was one of the last missions (the second-last) and the last one to have an italian astronaut on board (Roberto Vittori). I've found several images taken inside the Endeavour during that mission so I think I can have enough documentation to help my build.
STS134.small.jpg
Roberto Vittori on the pilot seat aboard Endeavour during STS134.
 
Last edited:

zathros

*****SENIOR ADMINISTRATOR*****
Staff member
Administrator
Moderator
Apr 5, 2013
13,499
9,550
228
I like that!! I like that a lot. Would you mind my posting of any pictures and data I may find? :)
 

zathros

*****SENIOR ADMINISTRATOR*****
Staff member
Administrator
Moderator
Apr 5, 2013
13,499
9,550
228
That's very interesting "nero on fire" :)
 

Tonino

Well-Known Member
Apr 15, 2004
791
1,775
83
61
Republic of San Marino
www.facebook.com
Would you mind my posting of any pictures and data I may find? :)

Absolutely!!! I greatly appreciate any kind of contribution to document my build. Any kind of reference will be more than welcome!!!!

@nero_on_fire Excuse me Nero if I didn't notice your post before: now I'm between mountains and my only contact with civilized world is my cellphone but here the signal is very weak so I can't surf the web very well...
You make me laugh because you are the demonstration that cardmodelers' brains work all the same way. I had exactly the same idea (exactly as you sketched it) but, when I printed my prototype, I realized that the switches are really too tiny to follow that way. I want to make some try with paper before surrender to the metal option... but I'm afraid it won't be possible. Anyway I'm amazed by how close our thoughts went along the same path...:)
 

zathros

*****SENIOR ADMINISTRATOR*****
Staff member
Administrator
Moderator
Apr 5, 2013
13,499
9,550
228
I would recommend colored sheet plastic. Sheets of cellophane, or other similar products come in a myriad of colors. The are used as paper folder binders. :)
 

Tonino

Well-Known Member
Apr 15, 2004
791
1,775
83
61
Republic of San Marino
www.facebook.com
OK I'm back guys! Just returned from my mountains vacation! Just like past year I took with me my "cardmodeler's travel kit" (do you remember it?) and, as we had some very rainy days (big thunderstorms, better not go outside!) I had once more the chance to do some "work" ... for my wife's joy!

@nero_on_fire : WOW very nice link you gave me! I've seen before similar 360° photos but never one so much "zoomable"!!! You can actually dive into the switches! Very useful! Tanks a lot. I'll go there very often I think... It would be nice to save the image in some way. Anyone knows if this is possible?

Well, back to the "mountain build"...

IMG_20160719_142152.jpg
The front wall was divided (like other big pieces) in sub-components with "special" tabs realized to join them. This wall, as you'll see after, is a little too weak in this scale. Perhaps would be better to double it.

IMG_20160719_152945.jpg
The upper console was divided in 3 slices in the same way.

IMG_20160719_171954.jpg
The 6 pieces are joined in one. The fitting is very good so far.

IMG_20160719_172023.jpg
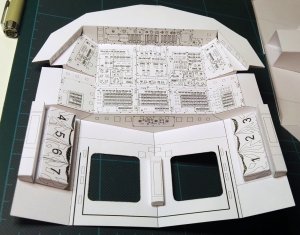
The dashboard is the most interesting spot (I LOVE dashboards... like many Flight Simulation enthusiast!) The two "TAB?" writings were soon disproved... there's no contact with the upper console there (as I thought).

IMG_20160720_153057.jpg
After joining the parts I noticed that the HUD boxes are a little too big: they push back the dashboard. Another point to enhance is the lower side of the console, I'll have to detail it adding the underside and the lights.

IMG_20160720_153121.jpg
Here you see why the tabs in that spot would have been useless... In the front lower part is an opening that I will have to close somehow.

IMG_20160720_153130.jpg
And the same on the other side.
 
Last edited:

Tonino

Well-Known Member
Apr 15, 2004
791
1,775
83
61
Republic of San Marino
www.facebook.com
IMG_20160720_153204.jpg
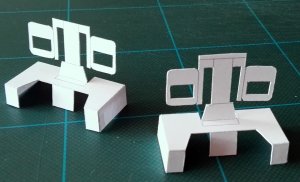
The pedals: their basic shape is good for a 1/48 model but I'll have to think to something a little bit more complex.

IMG_20160726_103622.jpg
The ceiling is a really complex piece, but a great attention-catcher in this model. I'll have to do some work here also.

IMG_20160726_103633.jpg
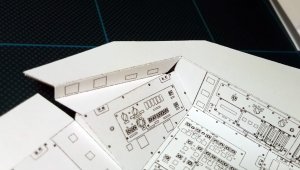
Here I found the first real fit issue. The upper-lateral right wall will need some adjustment.

IMG_20160726_103651.jpg
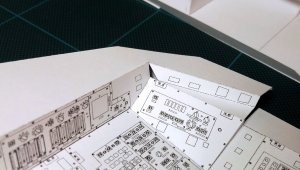
And so will the left side

IMG_20160726_103711.jpg
Those pouches will have to be less "square"

IMG_20160726_103831.jpg
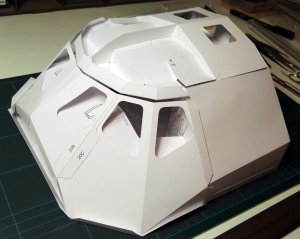
This is the appearance of the whole thing in its present state. I didn't glue the front section (it's only placed in position) as I'll have to take some measures and I need to reach the inner details easily.

IMG_20160726_103856.jpg
This is the reason for I talked about reinforcing the front wall (previous post). During the transportation the ceiling section pushed on the windows distorting the frames, as you see here. The transparent pieces will add some rigidity but I think that a double layer of cardboard is needed here.

Next time the seats...
 

Tonino

Well-Known Member
Apr 15, 2004
791
1,775
83
61
Republic of San Marino
www.facebook.com
Thanks Blake, but I've found something even better, I think...

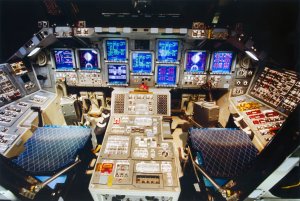
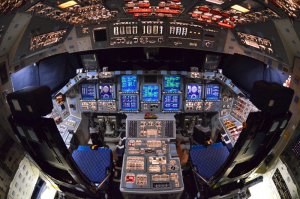
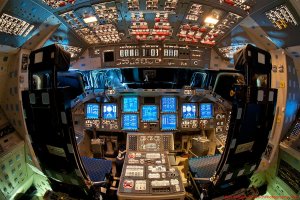
Looking to the code of the page linked by Nero I've found the place that panorama came from and, searching around, I've found two wonderful more views of the Endeavour - that's the one I'm going to represent:

by day

and by night that is great to study the lighting effects...

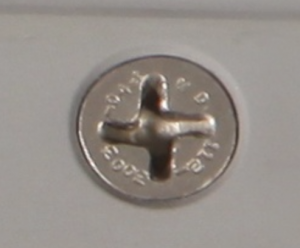
you can zoom until you have a single screw filling the whole screen... fantastic!!!!

Do you think I'm jocking?
See:

Screenshot 2016-07-26 19.07.38.png

Moreover, seen in their original website, the images are much more usable (the flash applet embedded in NG site was not very practical: turning mouse wheel to zoom in and out makes the page scroll while zooming) and here you can put image in fullscreen, very nice! :D
 
Last edited: